Prohibited Software- Auto-Uninstall Policy
The Auto-Uninstall Policy decides whether prohibited software is removed automatically when it's detected, and whether the user is warned first. It's a single settings form that applies across the fleet.
How to get here
- Open Device Control → Prohibited Software.
- Click the Auto-Uninstall Policy tab.
Navigate to: Device Control → Prohibited Software → Auto-Uninstall Policy
URL path: /device-control/prohibited-software-settings/uninstall-policy
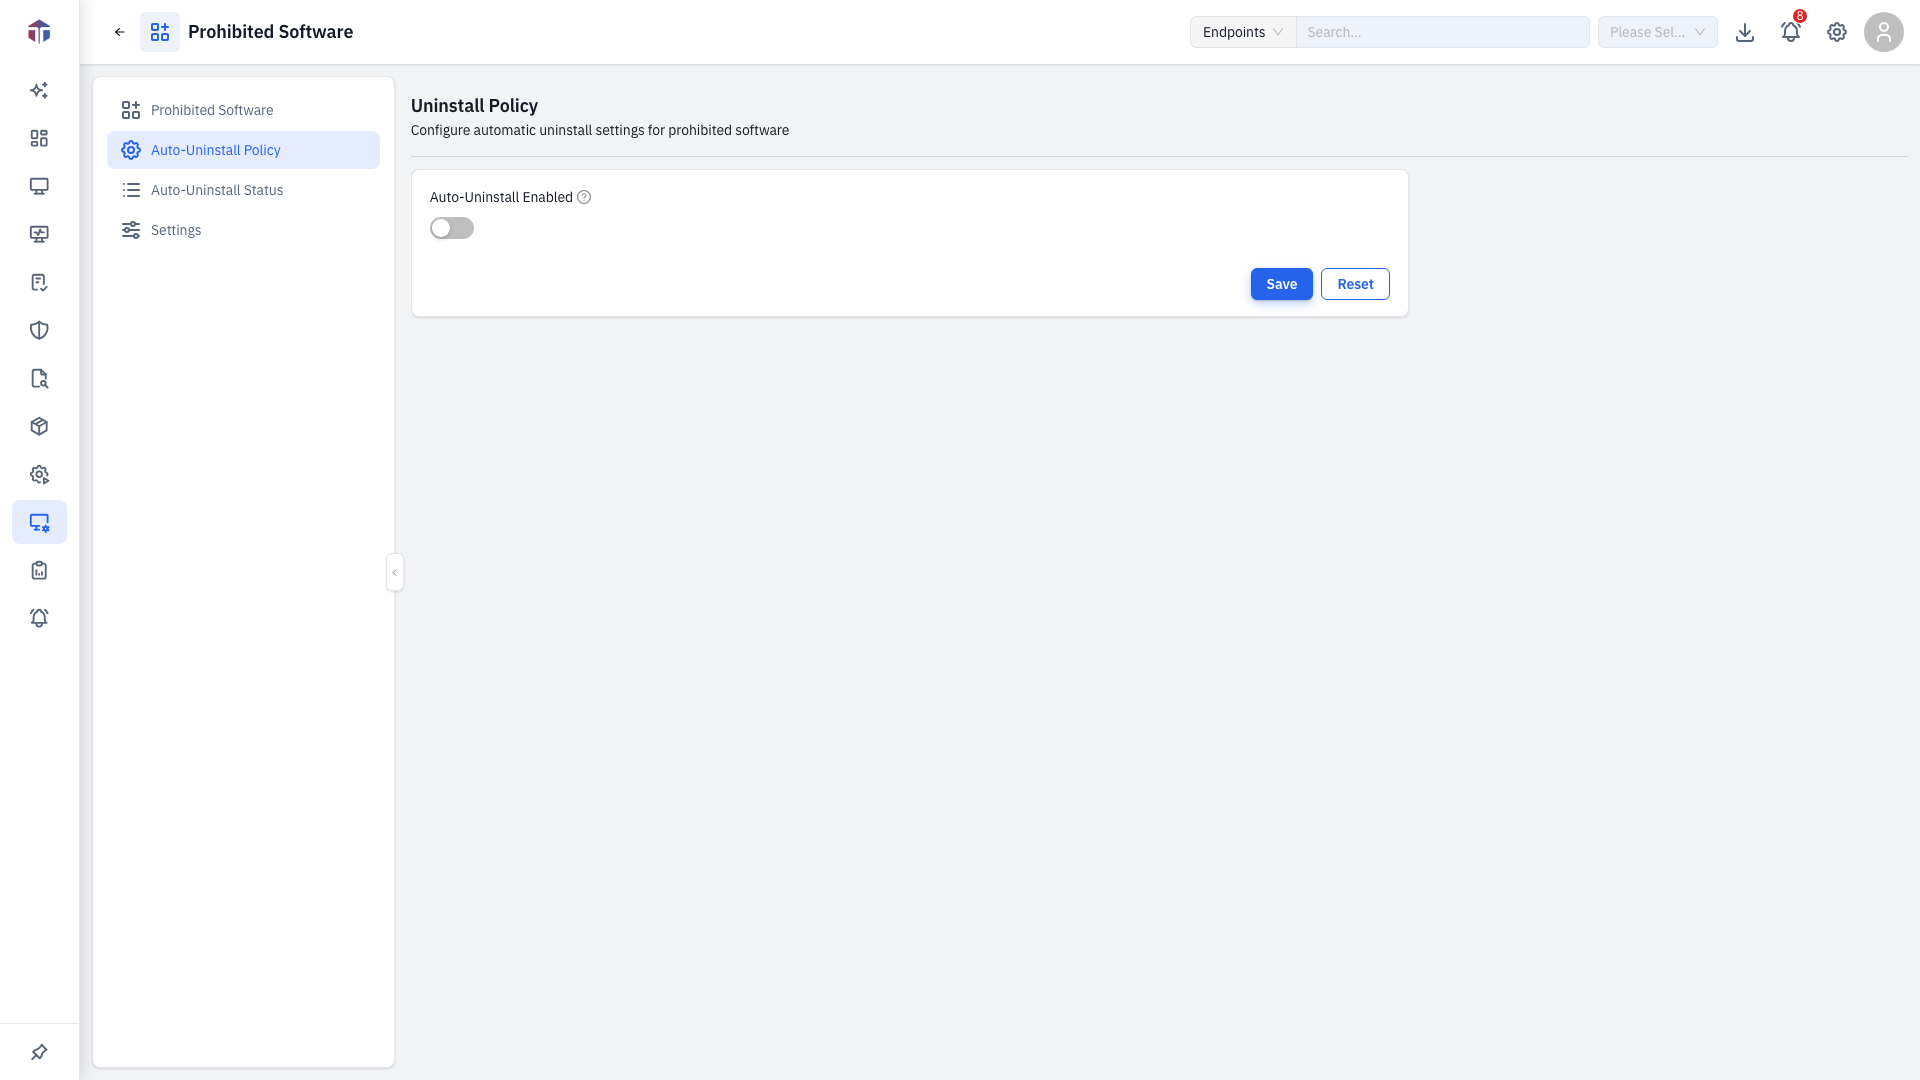
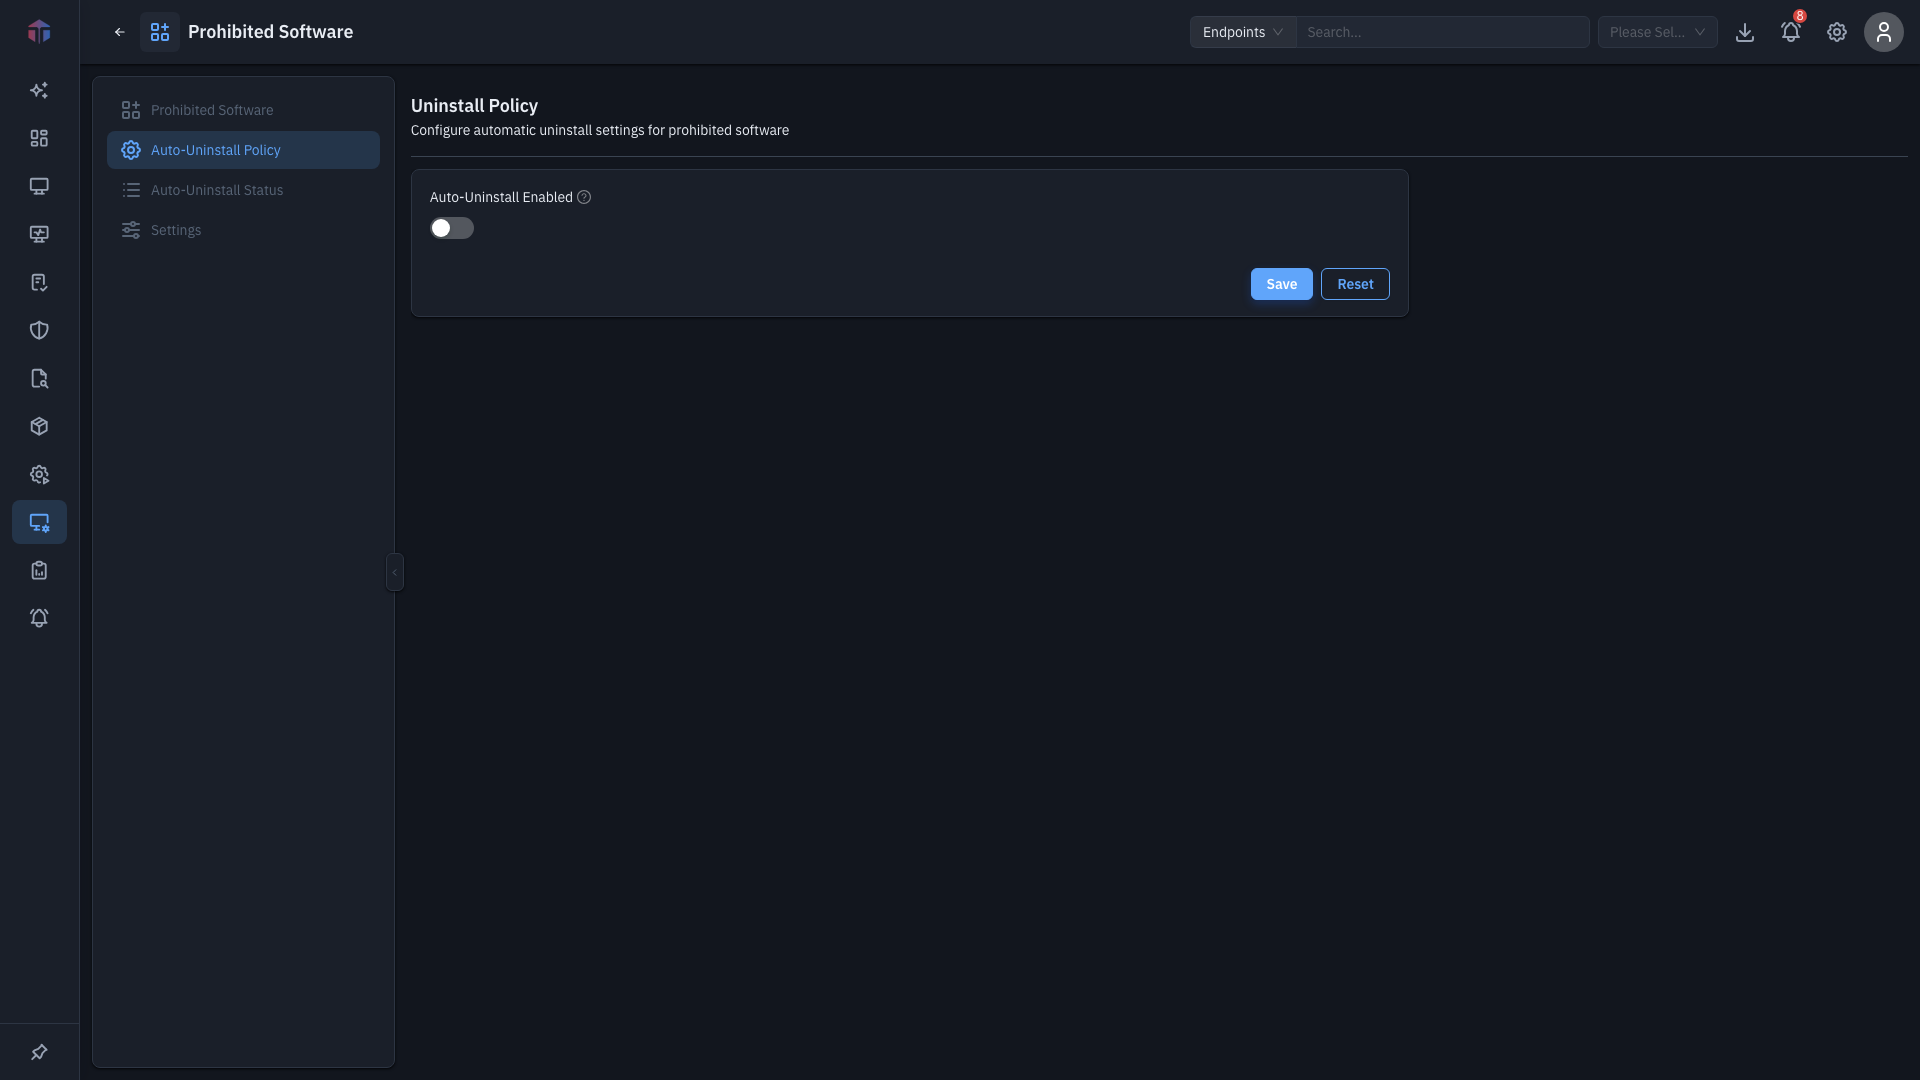
The Auto-Uninstall Policy screen
| Field | Notes |
|---|---|
| Auto-Uninstall Enabled | Automatically uninstall prohibited software when detected. |
| Notify Before Uninstall | Show the user a notification first (shown when auto-uninstall is on). |
| Notification Message | The message to display (required when notify is on). |
Change the settings and click Save, or Reset to discard.
Auto-uninstall removes software fleet-wide
With Auto-Uninstall Enabled, any application in the prohibited Catalog is removed from every endpoint where it's found- there is no per-machine confirmation and no automatic way to put it back. Before you switch this on:
- Double-check the Catalog so no business-critical app is listed by mistake.
- Turn on Notify Before Uninstall with a clear Notification Message so users aren't surprised.
- Pilot on a small group first if you can, and watch Auto-Uninstall Status before rolling out widely.
Permission
Saving needs Update Prohibited Software permission.
Related
- Catalog- the software this acts on.
- Auto-Uninstall Status- see what was removed.