Enrolling an Endpoint
To manage a computer with EndpointOps you install a small program on it called the agent. Enrolling is the act of downloading that agent and running it on the machine. Once enrolled, the endpoint reports in and shows up under Inventory → Endpoints.
You start enrollment from the Enroll New Endpoint button in the header, available on every screen.
Before you start
You need an enroll secret- a token that ties new endpoints to the right department. Create one first under Settings → Agent Management → Enroll Secret. See Enroll Secret.
What you need on the endpoint
- A supported OS and architecture. EndpointOps provides agents for Windows, Linux, and macOS, each in x64 and ARM64 builds. Match the build to the hardware (see the architecture tip below).
- Administrator / root rights on the machine to run the installer.
- Outbound network access to your EndpointOps server. The agent connects back to the server URL to enroll and report in. If your network restricts outbound traffic, allow that connection- and configure a Proxy if outbound traffic must go through one. Confirm the exact host and port with your administrator.
How to get here
- Sign in to EndpointOps.
- In the top-right of any screen, click the Enroll New Endpoint button (the download ⬇ icon, next to the notifications bell).
The Enroll New Endpoint dialog opens.
The Enroll New Endpoint dialog
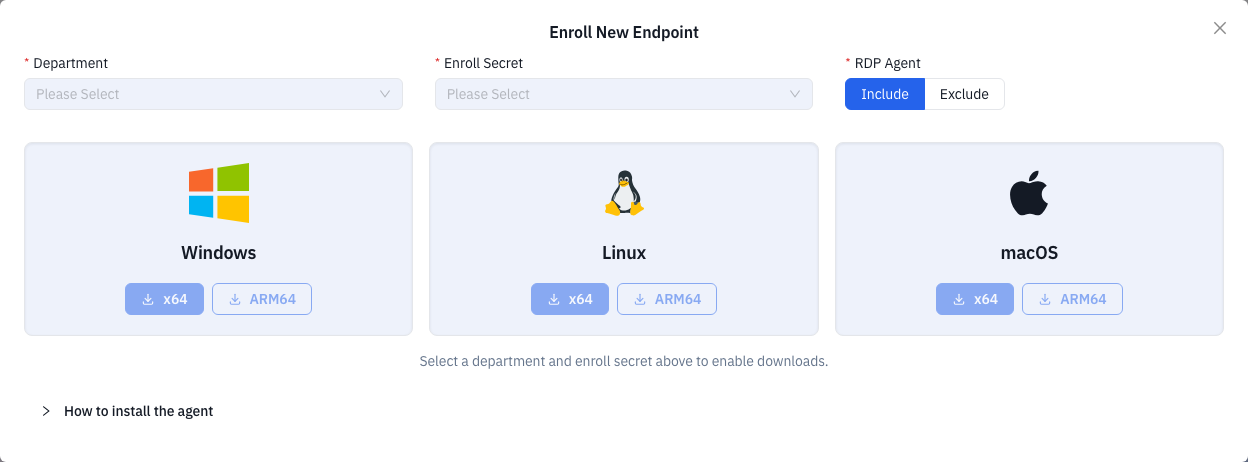
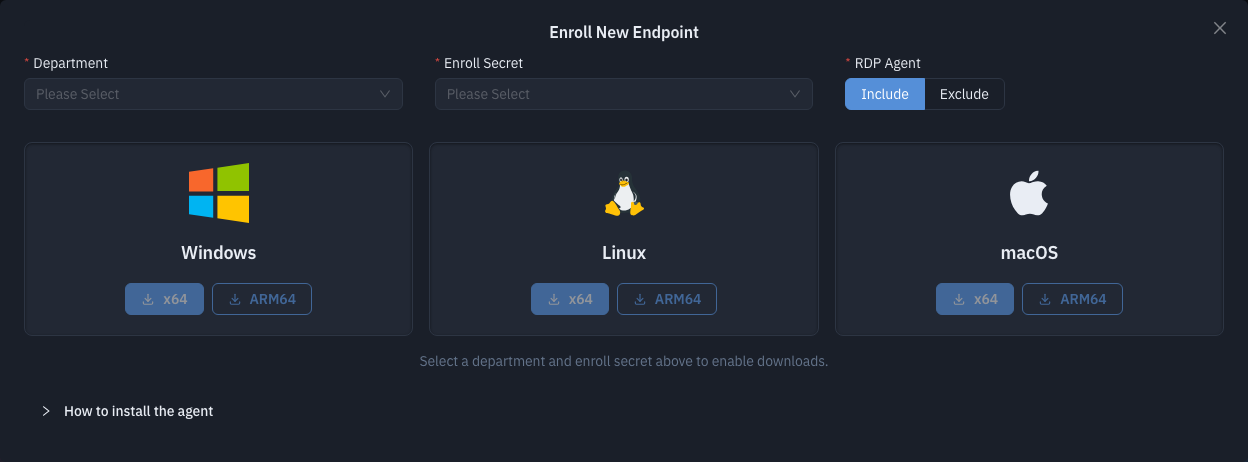
The dialog has two parts: a short form at the top, then the platform download buttons below.
Step 1- Fill in the form
| Field | Required | Notes |
|---|---|---|
| Department | Yes | The department the new endpoint belongs to. Picking it loads the matching enroll secrets. |
| Enroll Secret | Yes | The token to enroll with. The list is filtered to the department you chose. |
| RDP Agent | Yes | Whether to bundle the remote-desktop component. Include (default) packages it; choose Exclude to leave it out. |
Step 2- Download the installer
The dialog shows a download card for Windows, Linux, and macOS, each with an x64 and an ARM64 button. The buttons enable once you've picked a department and enroll secret:
| Platform | Options |
|---|---|
| Windows | Download (x64), Download (ARM64) |
| Linux | Download (x64), Download (ARM64) |
| macOS | Download (x64), Download (ARM64) |
Pick the platform and CPU architecture that match the target machine. The agent
downloads as a .zip containing the installer.
x64 covers most Intel/AMD machines. Choose ARM64 for ARM hardware- for example Apple Silicon Macs (M-series) or ARM-based Windows/Linux devices.
Step 3- Install on the endpoint
The dialog lists the install steps. On the target machine:
- Download the appropriate installer (the file you just got).
- Unzip it on the remote endpoint.
- On Linux or macOS, make the installer executable:
chmod a+x endpointops
- On Linux or macOS, run it with sudo:
sudo ./endpointops
- On Windows, right-click
endpointops.exeand choose Run as Administrator. - Accept the EULA by typing
Yesand pressing Enter. - Check enrollment status under Inventory → Endpoints.
What happens next
After the agent runs, the endpoint connects to EndpointOps and appears in Inventory → Endpoints. If your environment requires agent approval, the new endpoint waits in a pending list until an administrator approves it- see Agent Approvals. The Endpoints screen shows a banner when approvals are pending.
Tips & troubleshooting
- The download buttons don't appear. They show only after you select both a Department and an Enroll Secret. Pick the department first- it loads the secrets.
- No enroll secrets in the list. None exist for that department yet. Create one under Enroll Secret.
- The agent installs but the endpoint never shows up. Confirm the machine can reach the EndpointOps server, that you ran the installer as administrator/root, and that you accepted the EULA. If approval is required, check Agent Approvals.
- Wrong build won't run. Match the architecture to the hardware- ARM machines need the ARM64 build, not x64.
Related
- Enroll Secret- create the token enrollment needs.
- Agent Approvals- approve newly enrolled endpoints.
- Endpoints- where enrolled machines appear.
- Agent Configuration- tune how agents behave after enrollment.