Agent Approvals
Review endpoints that are waiting to enroll and approve or reject each one. This is where agents land when approval is Manual (or when they don't match your auto-approval criteria).
How to get here
You reach this page through Settings, so you need administrator (settings) permission. If you don't see the Settings icon, ask your administrator for access.
- Sign in to EndpointOps.
- In the top-right of any screen, click the Settings (gear ⚙️) icon.
- In the Settings menu on the left, open Agent Management and click Agent Approvals.
Navigate to: Settings → Agent Management → Agent Approvals
URL path: /settings/agent-management/agent-approvals
The Agent Approvals screen
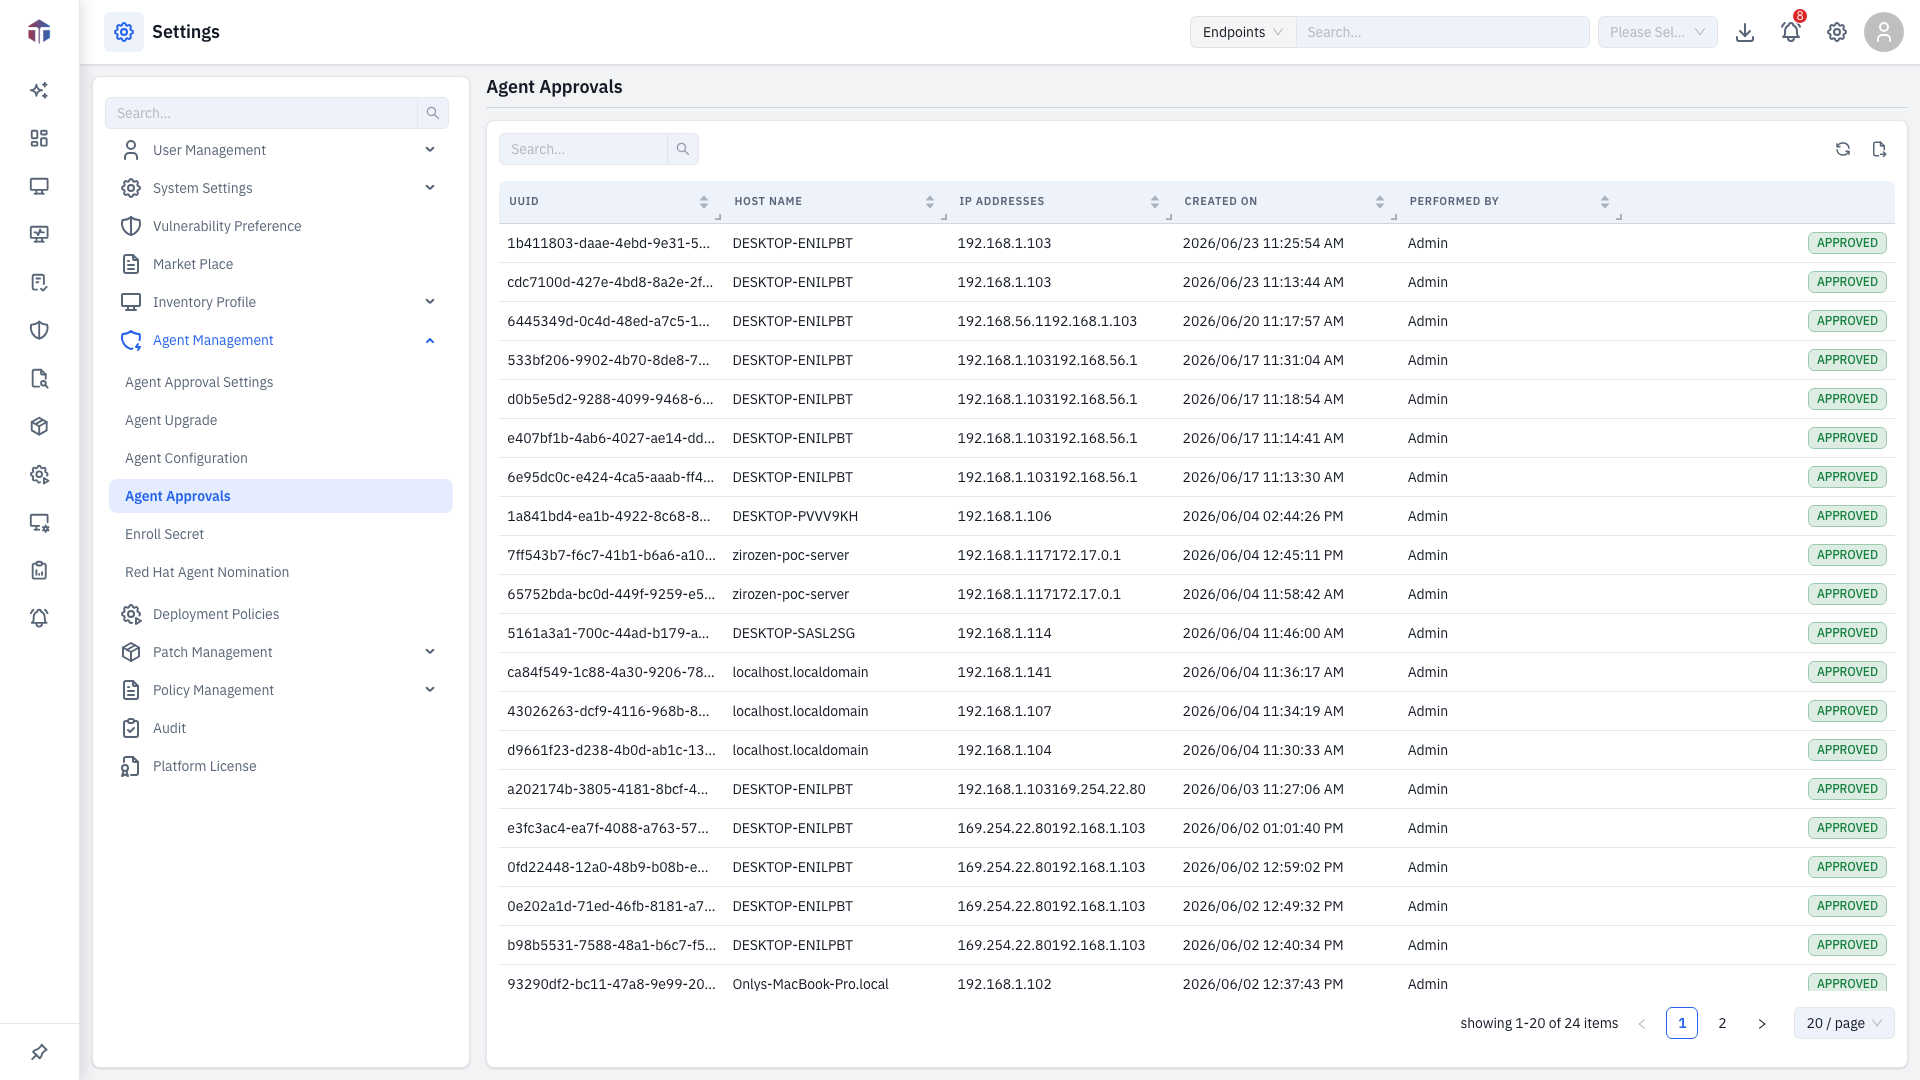
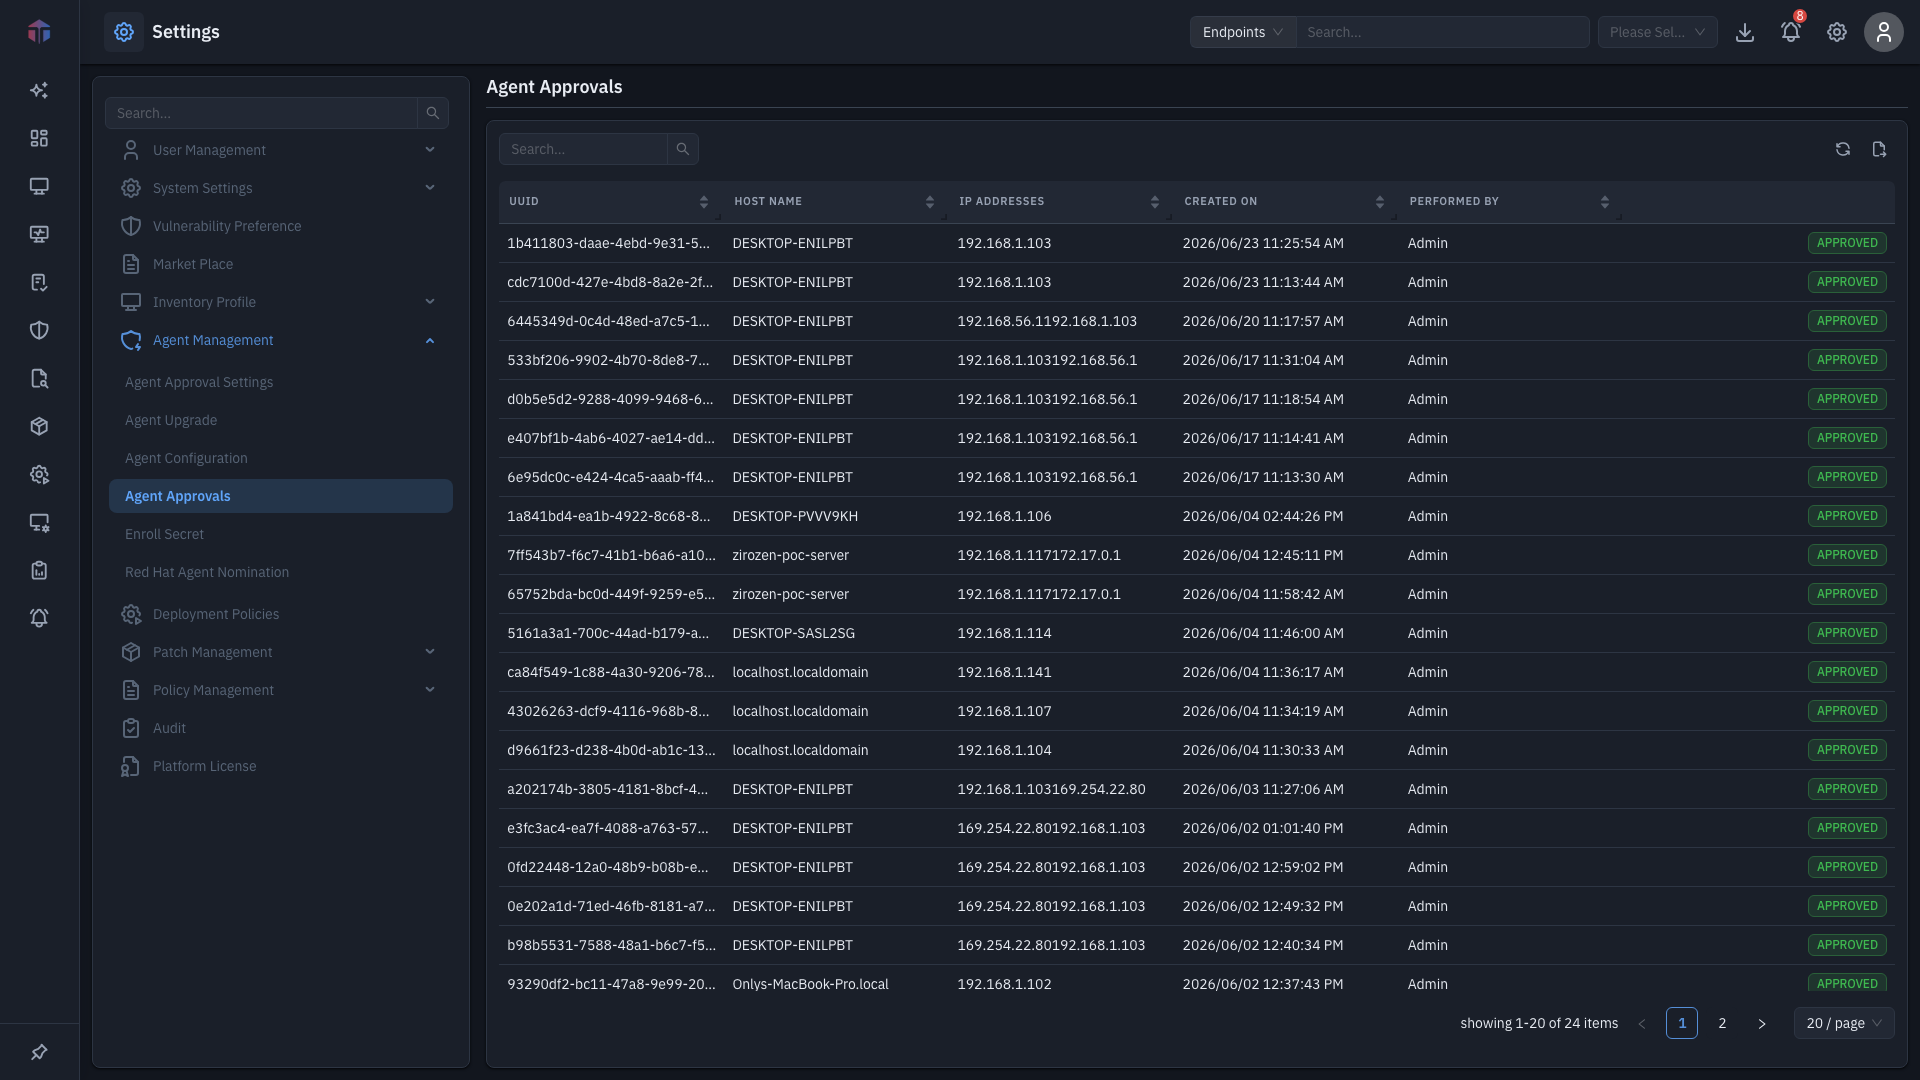
Columns: UUID, Host Name, IP Addresses, Created On, Performed By, and an Actions column.
A row's actions depend on its state:
- Pending- shows Approve (✓) and Reject (✗).
- Approved- shows a green Approved tag.
- Rejected- shows a red tag; hover it to see the rejection reason.
The toolbar
Above the list, the same toolbar appears on every list screen:
- Create- add a new item (opens a form panel from the right).
- Refresh- reload the latest data.
- Export- download the current list.
- Columns- choose which columns to show (covered under "Choosing which columns to show" below).
Working with the list
These controls behave the same on every list:
- Search- type in the Search… box above the table to filter rows as you type.
- Sort- click the arrows in a column header to sort by that column.
- View details- click a row's link in the first column to open a read-only view.
- Edit / delete- use the edit (✏️) and delete (🗑️) icons at the end of a row.
- Pagination- when a list runs to more than one page, use the page controls at the bottom-right and the / page selector to change how many rows show.
- Permissions- you only see Create, edit, and delete if your role grants the matching permission; otherwise the screen is read-only.
When you save a new or edited record, a success message appears, the panel closes, and the list refreshes. Required fields are marked with a red asterisk.
How do I approve or reject an agent?
- Approve: click the green Approve (✓) on a pending row. The endpoint enrolls and starts reporting.
- Reject: click the red Reject (✗). A dialog asks for a Reason for Rejection (required)- enter it and confirm.
Once an agent is approved or rejected, its row is read-only and just shows the status. Change how agents reach this list on Agent Approval Settings.
Related
- Agent Approval Settings- auto vs. manual approval.
- Enroll Secret- the secret agents use to enroll.