Network Profiles
A Network Profile is a discovery job that scans your network (by IP, range, or CIDR) to find network devices such as printers, switches, and routers. It uses a Credential Profile to talk to those devices over SNMP.
Inventory Profile is available on EndpointOps editions and above. If you don't see it in the menu, your license doesn't include it.
How to get here
You reach this page through Settings, so you need administrator (settings) permission. If you don't see the Settings icon, ask your administrator for access.
- Sign in to EndpointOps.
- In the top-right of any screen, click the Settings (gear ⚙️) icon.
- In the Settings menu on the left, open Inventory Profile and click Network Profiles.
Navigate to: Settings → Inventory Profile → Network Profiles
URL path: /settings/inventory-profiles/network-profiles
A Network Profile needs at least one SNMP Credential Profile to connect with. Create that first, then come back here.
The Network Profiles screen
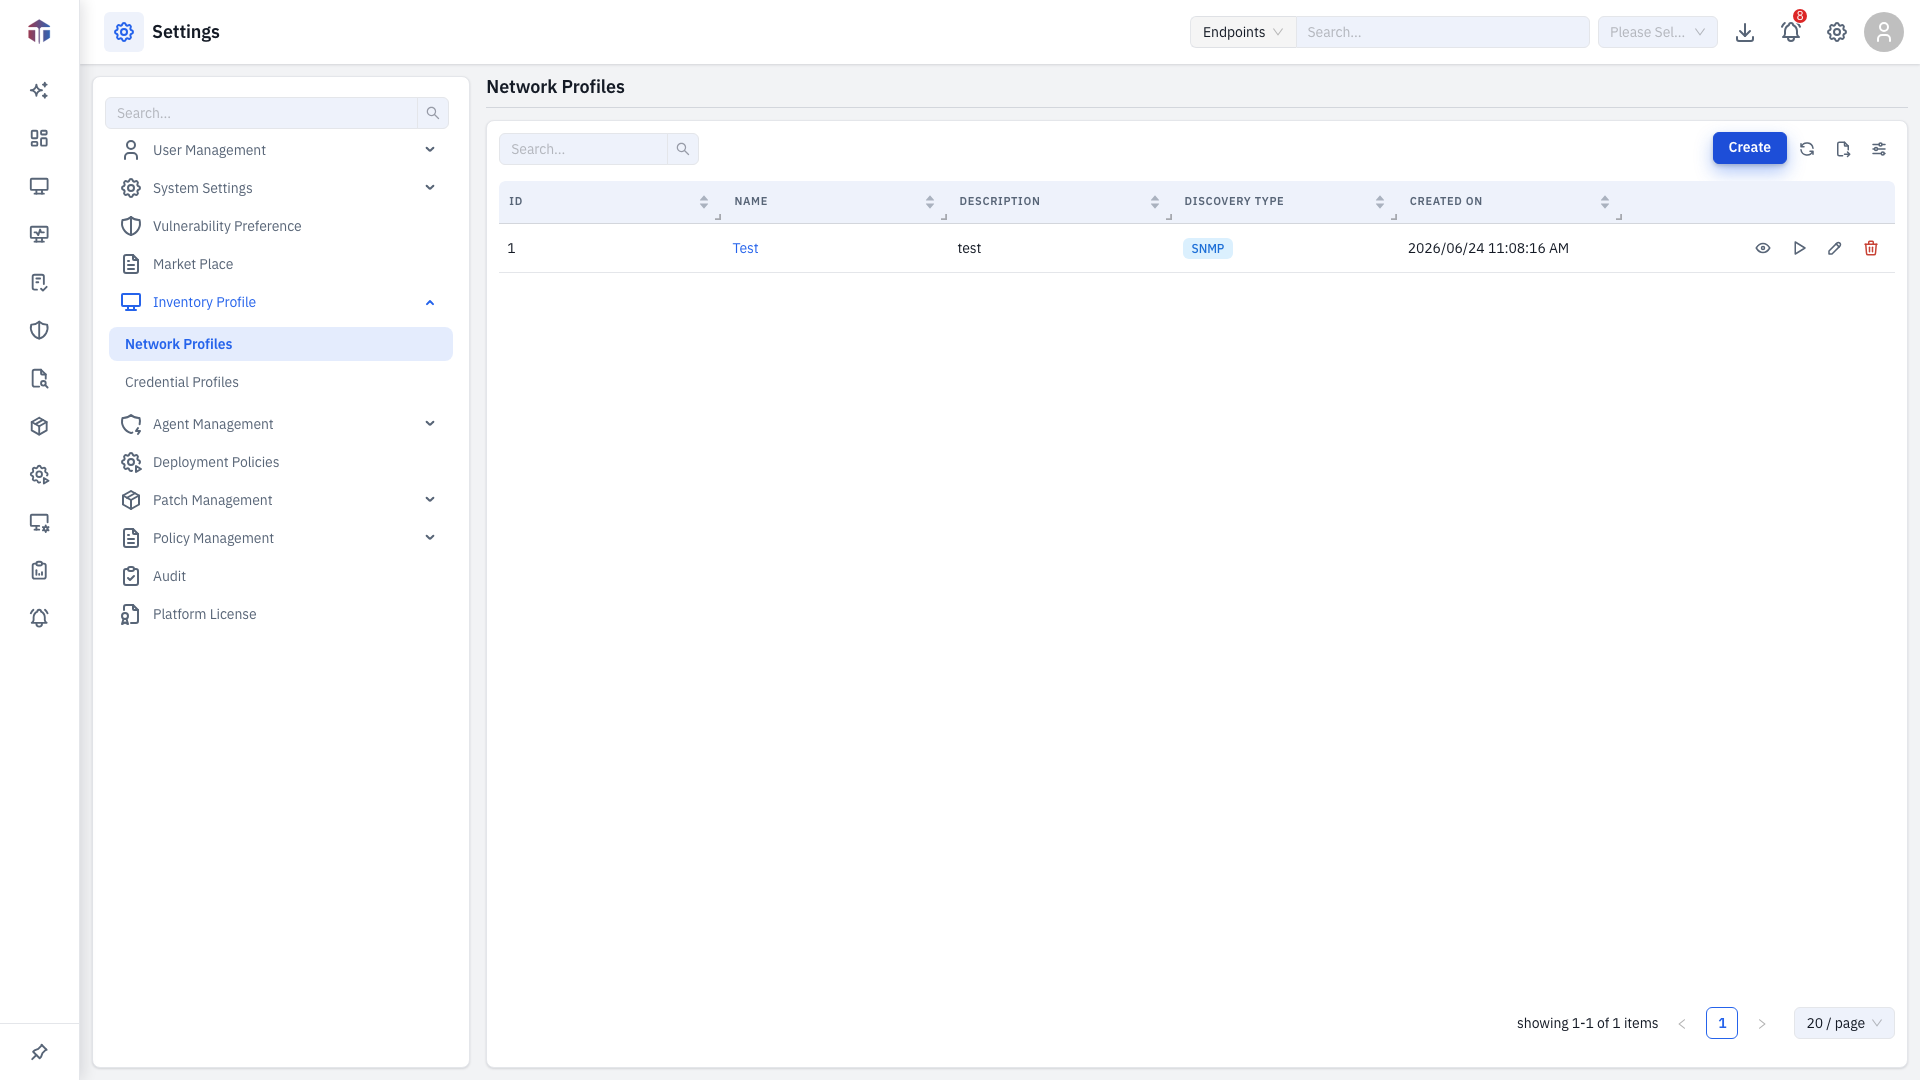
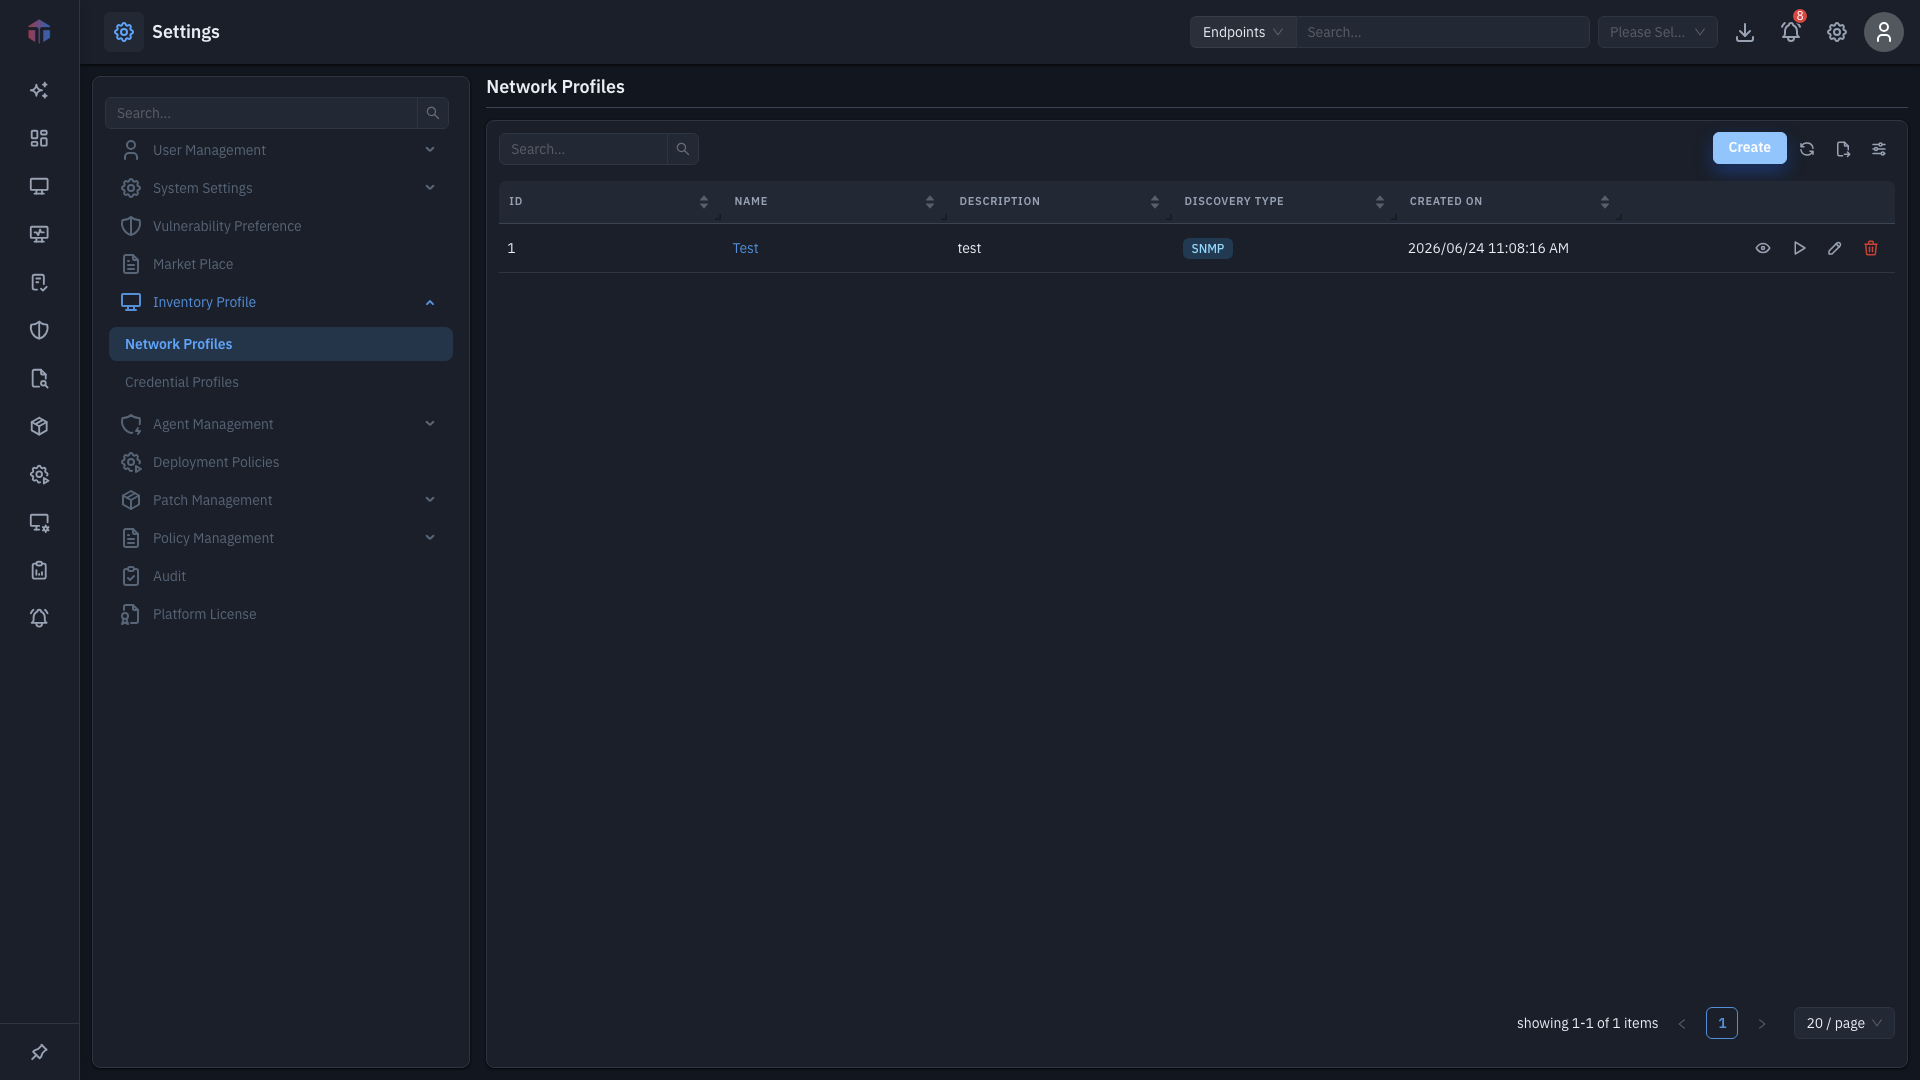
Columns: ID, Name, Description, Discovery Type, Created On.
Each row has extra actions: View Result (👁 see what the last discovery found), Run / Abort (▶ start or ⏹ stop the discovery), a spinning indicator while it's running, plus edit (✏️) and delete (🗑️).
The toolbar
Above the list, the same toolbar appears on every list screen:
- Create- add a new item (opens a form panel from the right).
- Refresh- reload the latest data.
- Export- download the current list.
- Columns- choose which columns to show (covered under "Choosing which columns to show" below).
Working with the list
These controls behave the same on every list:
- Search- type in the Search… box above the table to filter rows as you type.
- Sort- click the arrows in a column header to sort by that column.
- View details- click a row's link in the first column to open a read-only view.
- Edit / delete- use the edit (✏️) and delete (🗑️) icons at the end of a row.
- Pagination- when a list runs to more than one page, use the page controls at the bottom-right and the / page selector to change how many rows show.
- Permissions- you only see Create, edit, and delete if your role grants the matching permission; otherwise the screen is read-only.
When you save a new or edited record, a success message appears, the panel closes, and the list refreshes. Required fields are marked with a red asterisk.
How do I add a network profile?
-
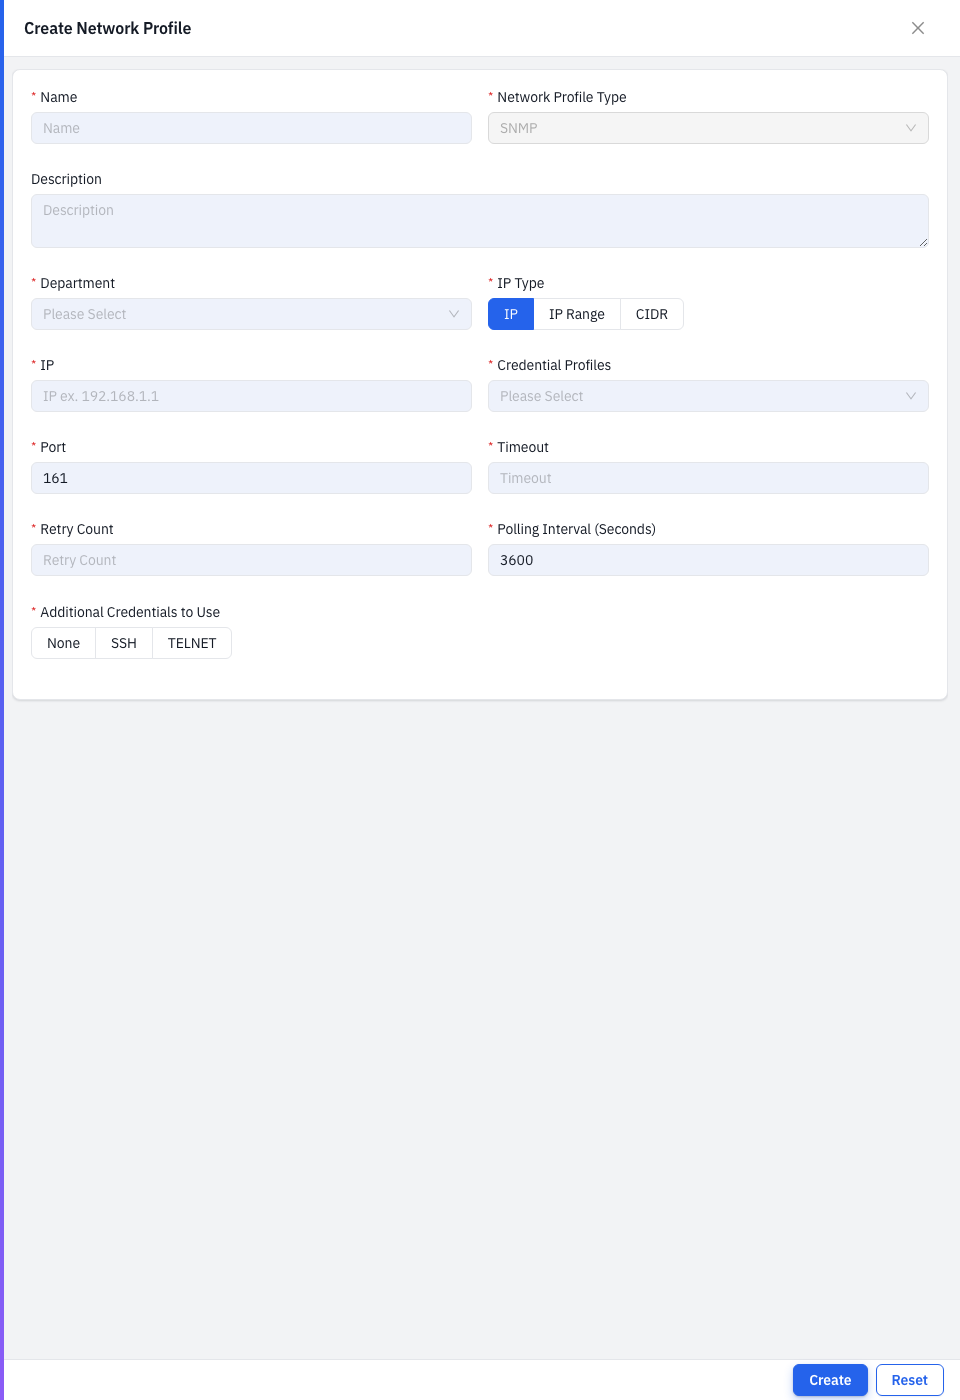
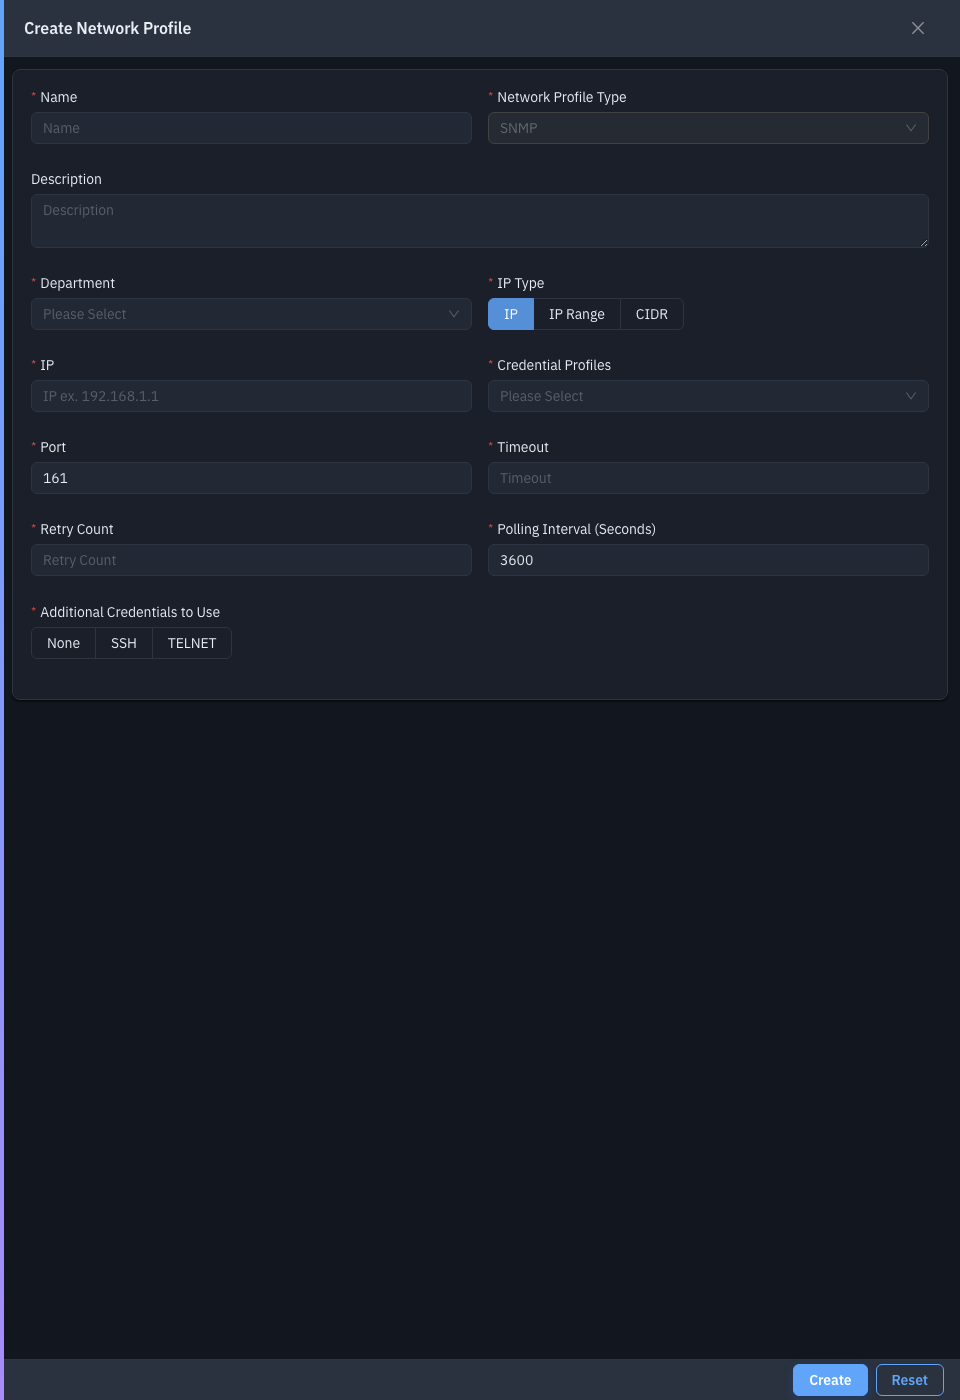
Click Create. The Create Network Profile panel opens.
-
Fill in the fields (red asterisk = required):
Field Required Notes Name Yes A label for the profile. Network Profile Type Yes SNMP (fixed). Description No What it scans. Department Yes The department the discovered devices belong to. IP Type Yes IP, IP Range, or CIDR- this changes the address field. IP / IP Range / CIDR Yes The address to scan, e.g. 192.168.1.1,192.168.1.1-255, or192.168.1.0/24.Credential Profiles Yes One or more SNMP Credential Profiles to try. Port Yes SNMP port (default 161). Timeout Yes Connection timeout. Retry Count Yes How many times to retry. Polling Interval (Seconds) Yes How often the discovery re-runs (minimum 60). Additional Credentials to Use Yes None, SSH, or TELNET- adds a credential of that type for richer discovery. -
Click Create.
How do I run discovery and see results?
- Run: click the Run (▶) action on a row. The row shows a spinning indicator while it works; click Abort (⏹) to stop it.
- View Result: click the View Result (👁) action to open a panel showing the devices found by the last run.
Choosing which columns to show
Click the Columns icon on the right of the toolbar to open the column picker.
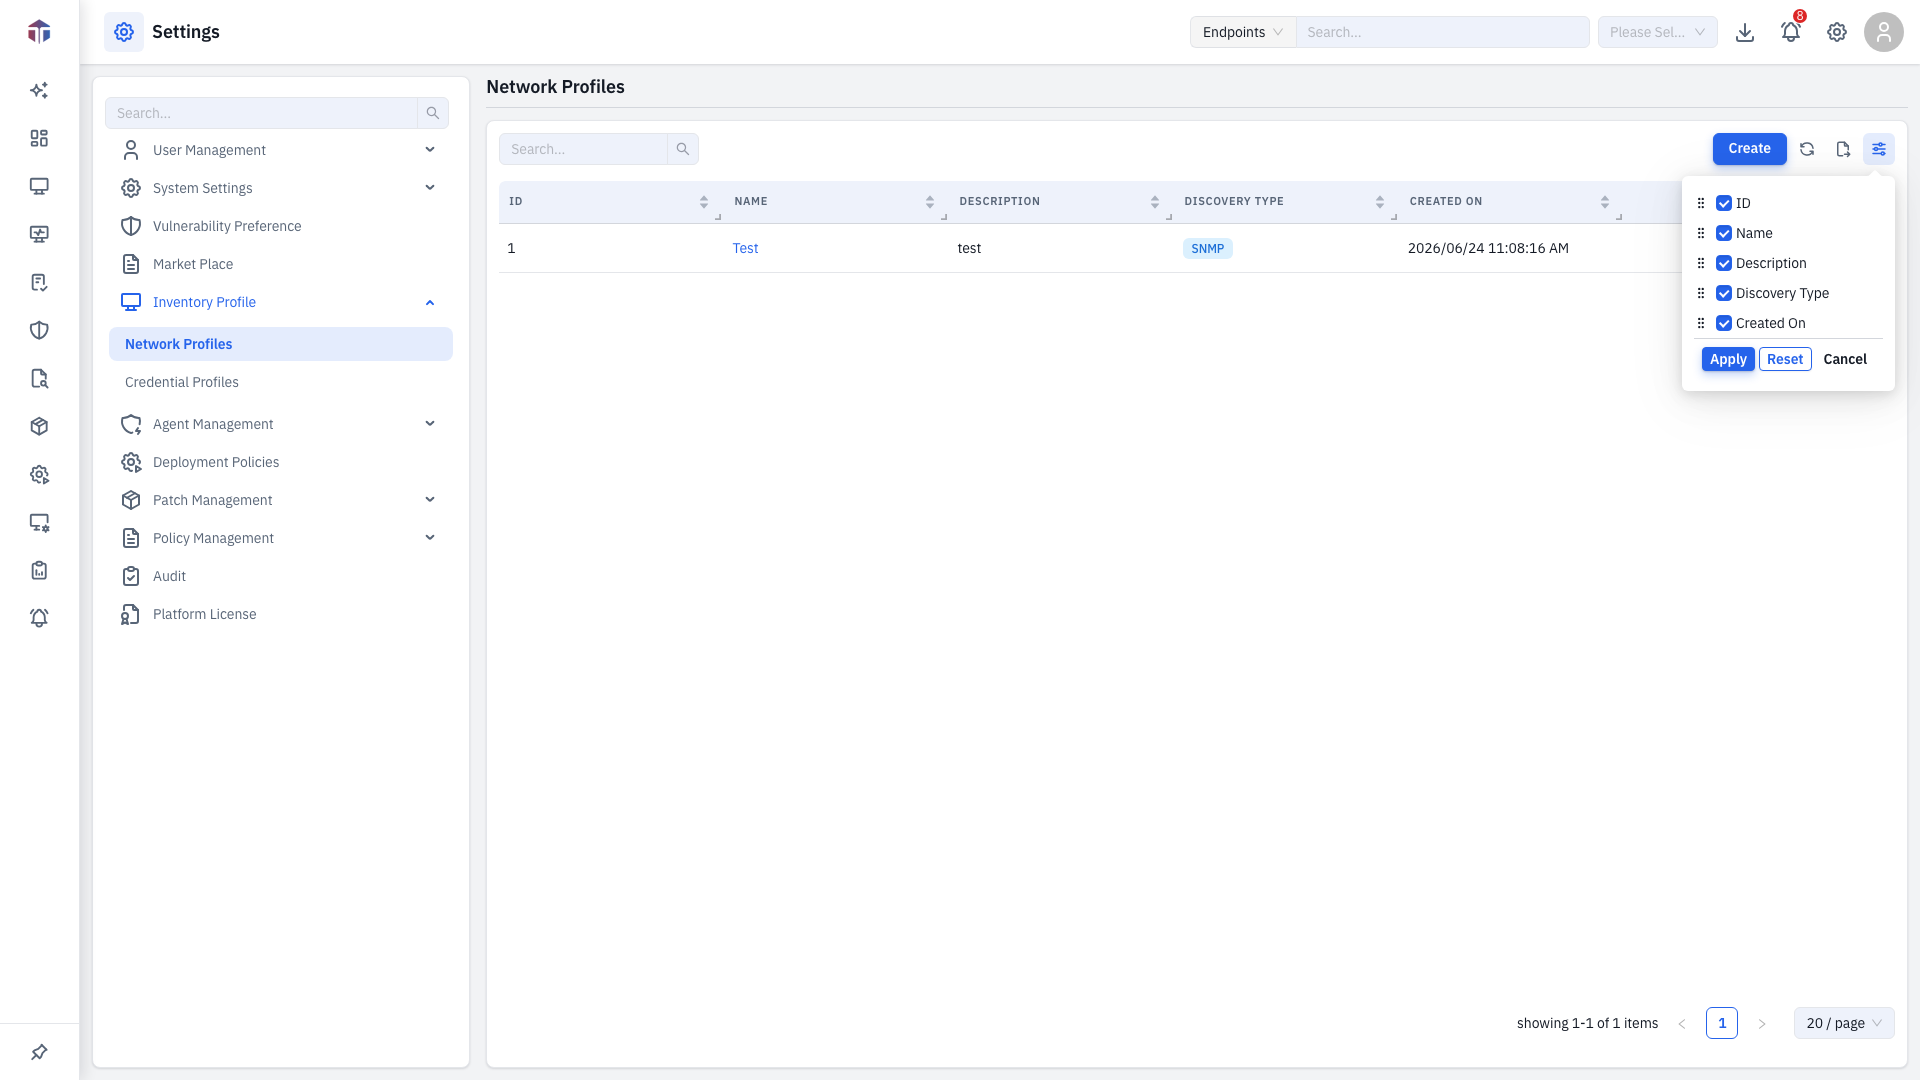
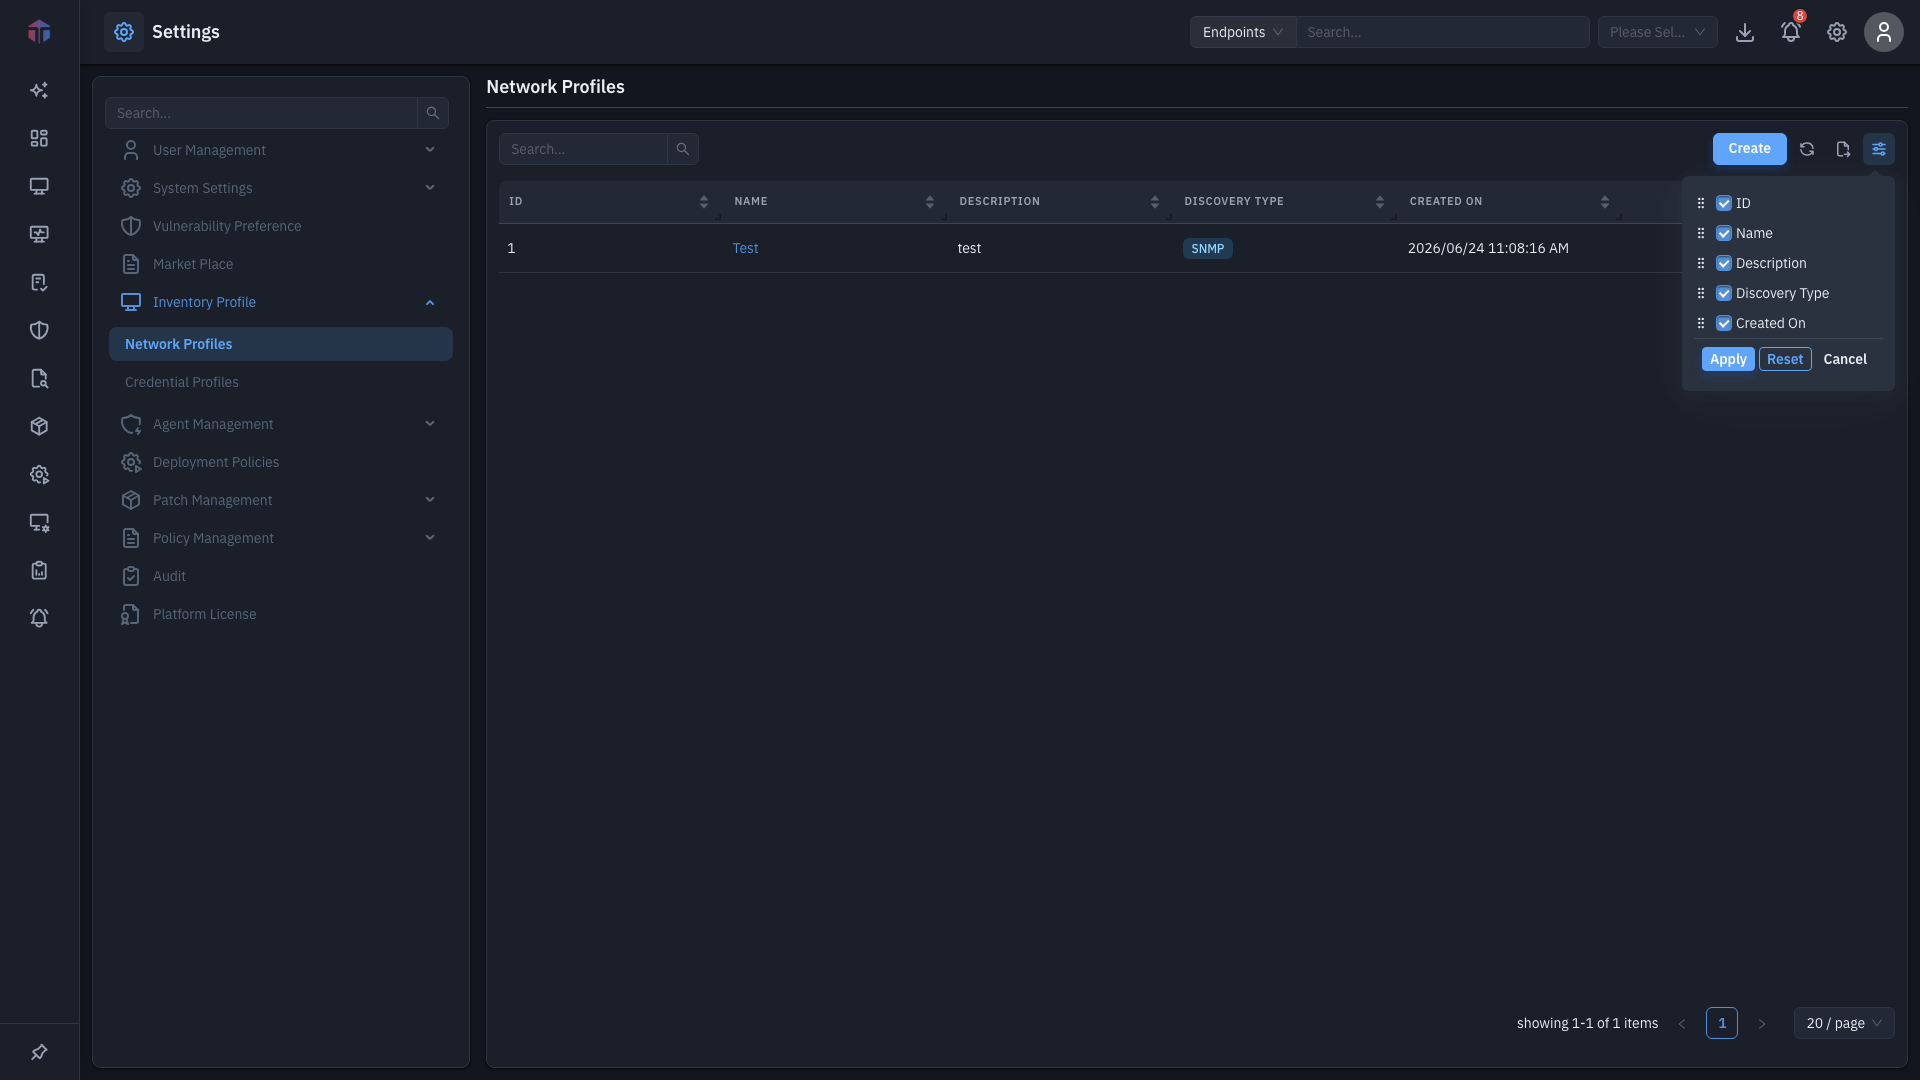
Tick the columns to show, untick to hide, drag to reorder, then click Apply.
Related
- Credential Profiles- the credentials a Network Profile uses.
- Inventory → Network Devices- where discovered devices appear. (coming)