Market Place
The Market Place is where you connect EndpointOps to outside services- email, ticketing, threat-intelligence providers, AI services, and log forwarders. Once connected, these integrations can be used by alerts and automation (for example, to open a Zendesk ticket or email a team when an alert fires).
How to get here
You reach this page through Settings, so you need administrator (settings) permission. If you don't see the Settings icon, ask your administrator for access.
- Sign in to EndpointOps.
- In the top-right of any screen, click the Settings (gear ⚙️) icon.
- In the Settings menu on the left, click Market Place.
Navigate to: Settings → Market Place
URL path: /settings/integrations (note the URL is integrations even though
the menu reads Market Place).
The Market Place screen
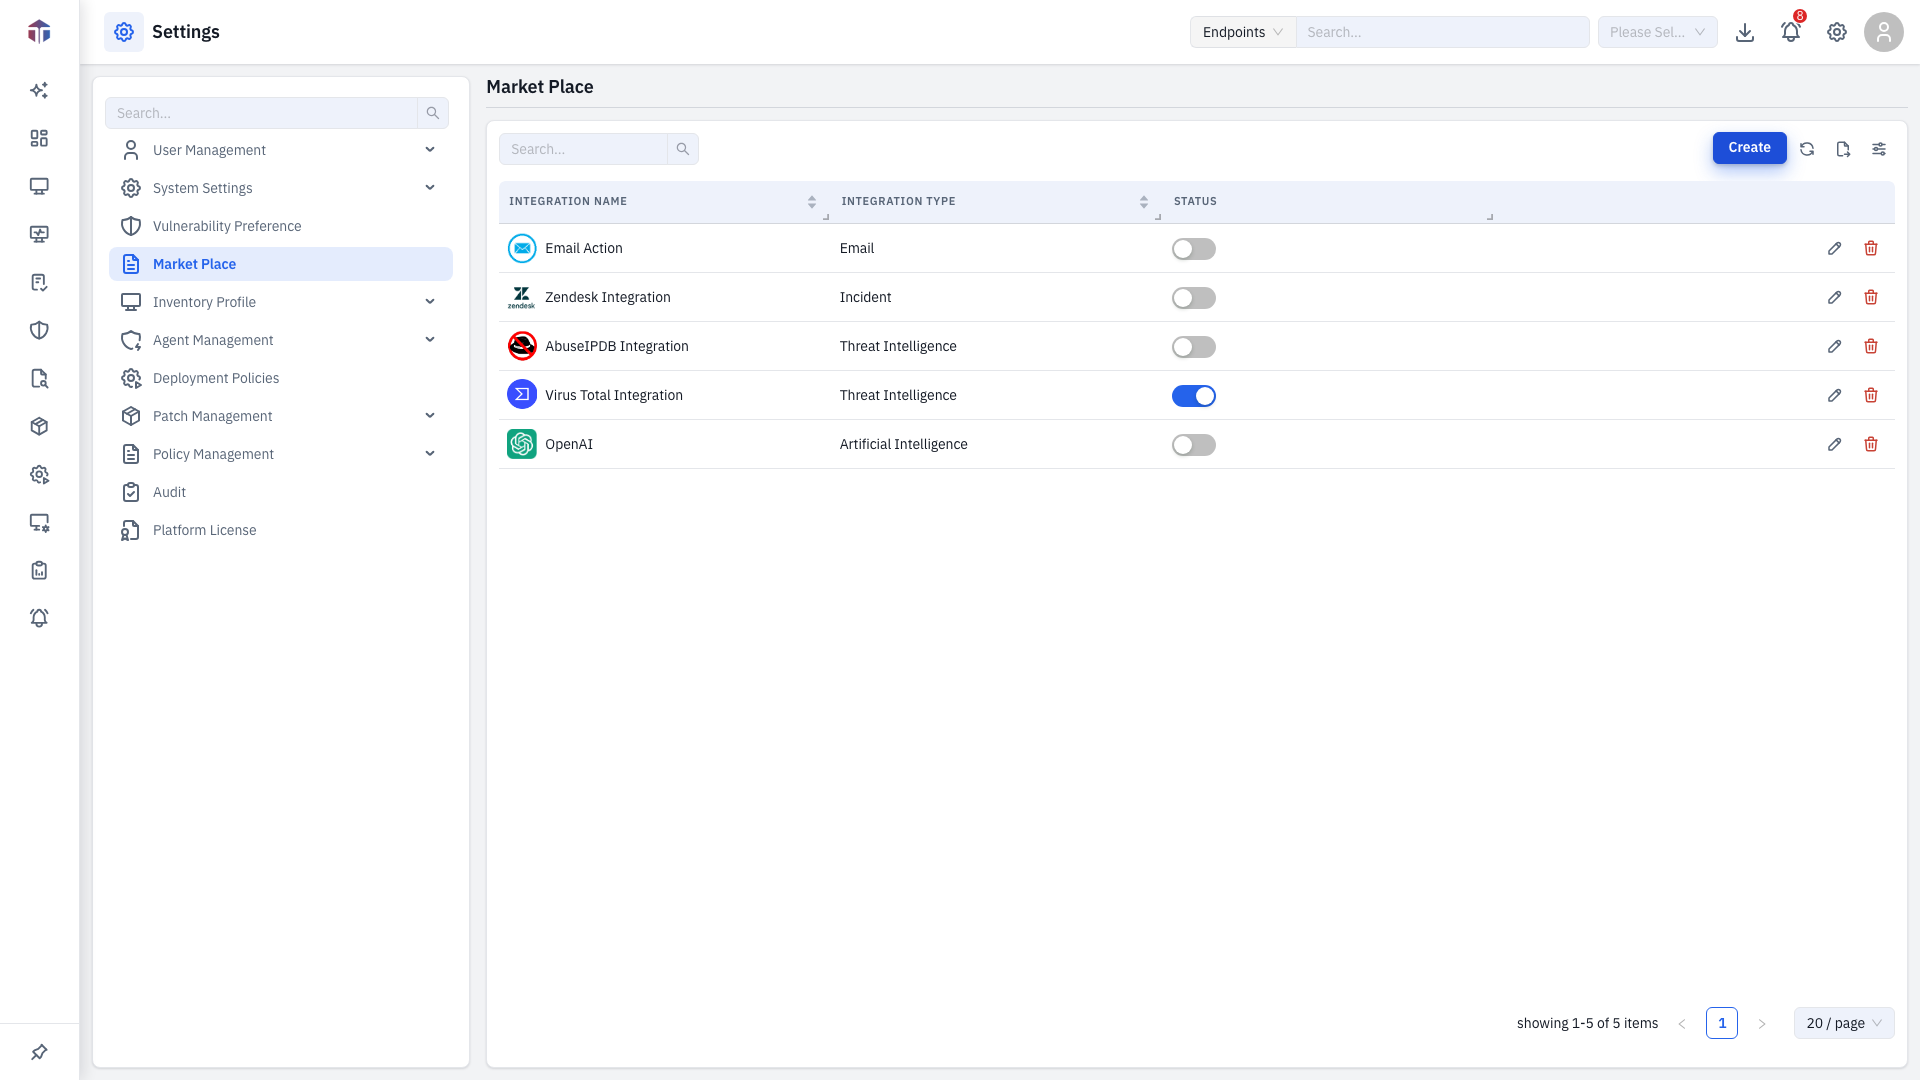
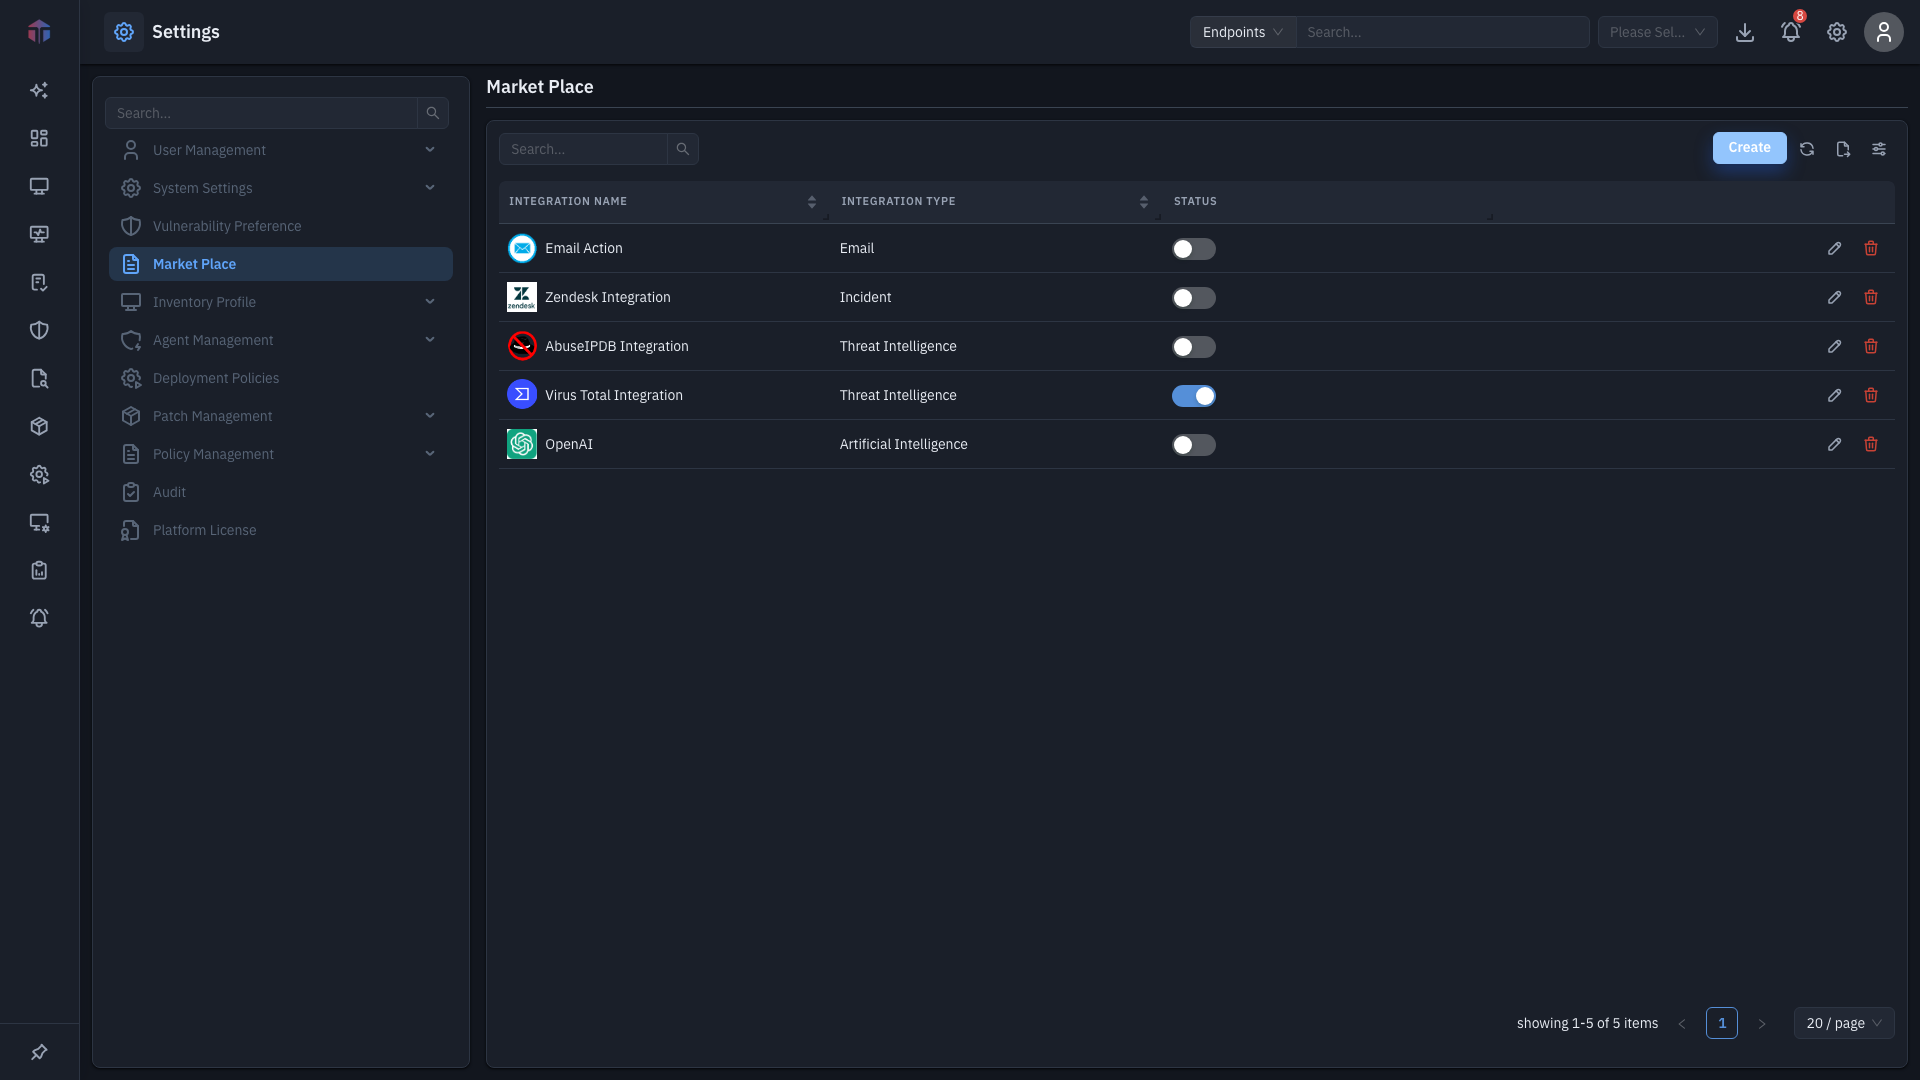
Columns: Integration Name (with the provider's logo), Description, Integration Type, Status, Created By, Created On. The Status column is a switch you can flip in the list to enable or disable an integration. Each row also has edit (✏️) and delete (🗑️).
The toolbar
Above the list, the same toolbar appears on every list screen:
- Create- add a new item (opens a form panel from the right).
- Refresh- reload the latest data.
- Export- download the current list.
- Columns- choose which columns to show (covered under "Choosing which columns to show" below).
Working with the list
These controls behave the same on every list:
- Search- type in the Search… box above the table to filter rows as you type.
- Sort- click the arrows in a column header to sort by that column.
- View details- click a row's link in the first column to open a read-only view.
- Edit / delete- use the edit (✏️) and delete (🗑️) icons at the end of a row.
- Pagination- when a list runs to more than one page, use the page controls at the bottom-right and the / page selector to change how many rows show.
- Permissions- you only see Create, edit, and delete if your role grants the matching permission; otherwise the screen is read-only.
When you save a new or edited record, a success message appears, the panel closes, and the list refreshes. Required fields are marked with a red asterisk.
How do I add an integration?
-
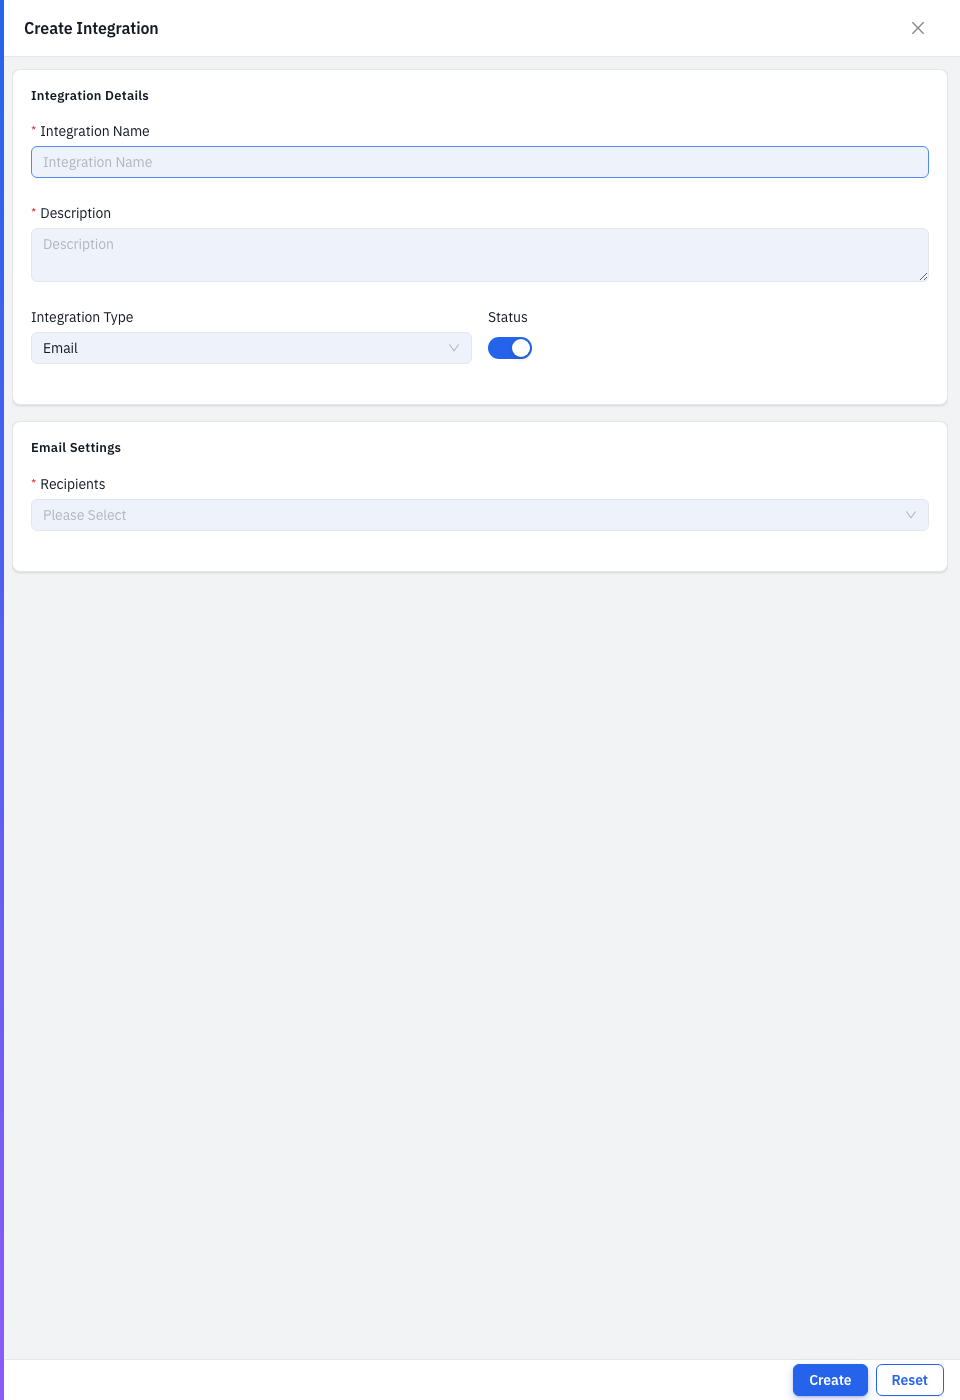
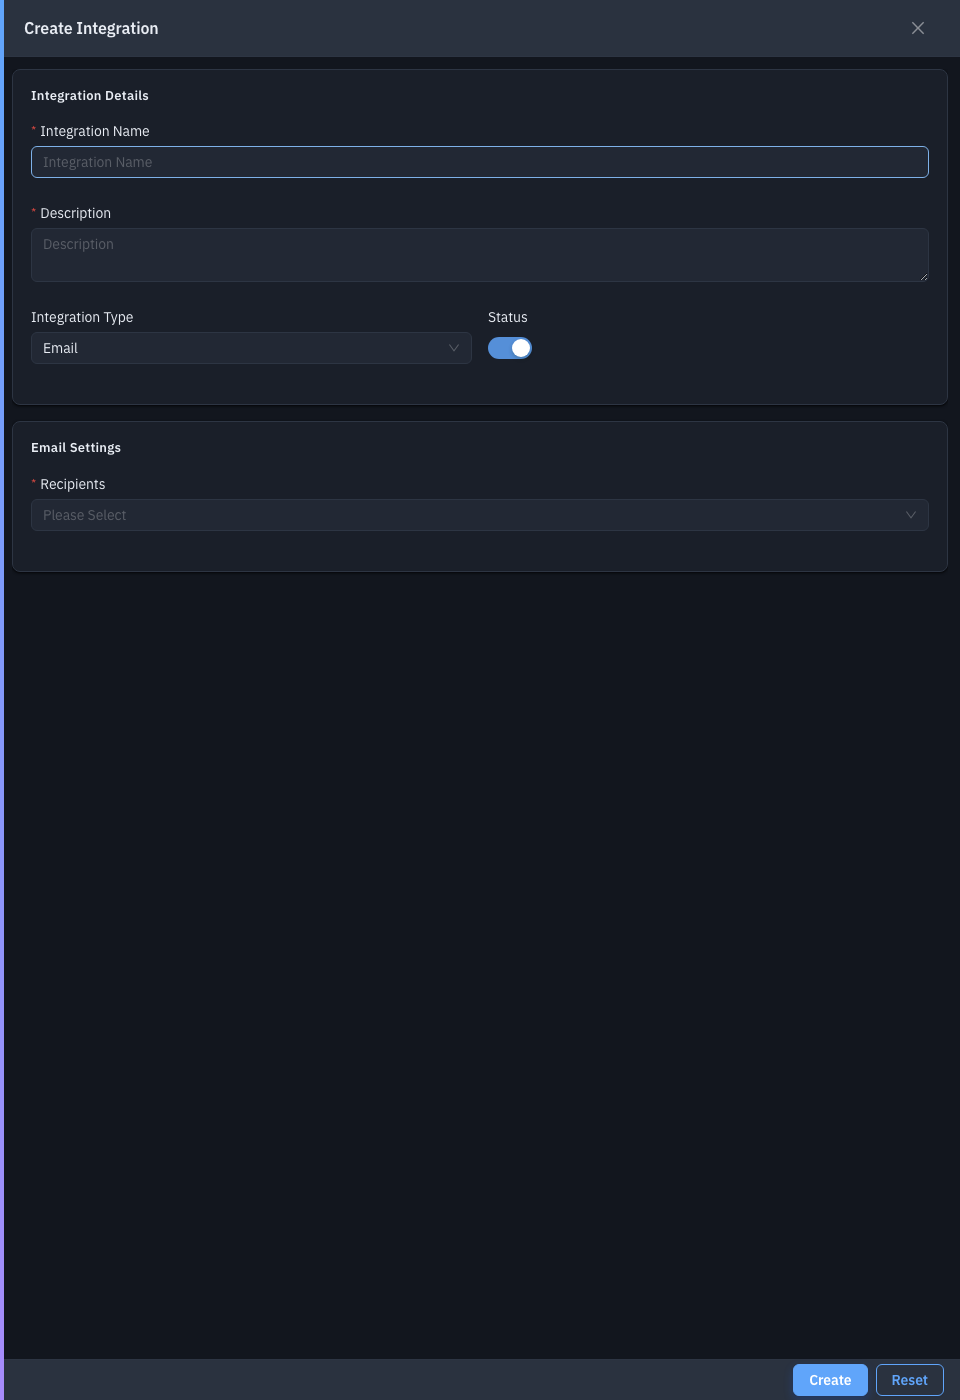
Click Create. The Create Integration panel opens.
-
Fill in the common fields:
Field Required Notes Integration Name Yes A label for this integration. Description Yes What it's for. Integration Type - The kind of service (see below). The fields under the divider change to match. Status - Enable or disable the integration (on by default). -
Below the divider, fill in the settings for the Integration Type you chose (see the next section).
-
Click Create.
Integration types
Pick an Integration Type, then fill in its settings:
Email
Sends email notifications.
- Recipients (required)- who to email.
Incident
Opens tickets in a ticketing system.
- Incident Type (required)- currently Zendesk.
- URL (required)- your ticketing URL, e.g.
https://your.zendesk.com. - Authentication Type (required)- Basic or Token.
- Username (required).
- Password or Token (required)- depending on the authentication type.
Threat Intelligence
Checks indicators against a threat-intel provider.
- Threat Intelligence Type (required)- VirusTotal, AbuseIPDB, or GroupIB.
- API Key (required).
- For VirusTotal / AbuseIPDB: an Attribute (set automatically, e.g. Malicious Count or Abuse Confidence Score), a Condition (Equal, Not Equal, Greater Than, and so on), and a Condition Value.
- For GroupIB: a URL and Username as well.
Artificial Intelligence
Connects an AI service.
- Artificial Intelligence Type (required)- OpenAI or AzureOpenAI.
- Endpoint- required for AzureOpenAI.
- Model (OpenAI) or Deployment (AzureOpenAI) (required).
- API Key (required).
Event Forwarder
Forwards events to an external collector (for example a SIEM).
- Host (required)- IP or hostname.
- Port (required)- 1–65535.
Choosing which columns to show
Click the Columns icon on the right of the toolbar to open the column picker.
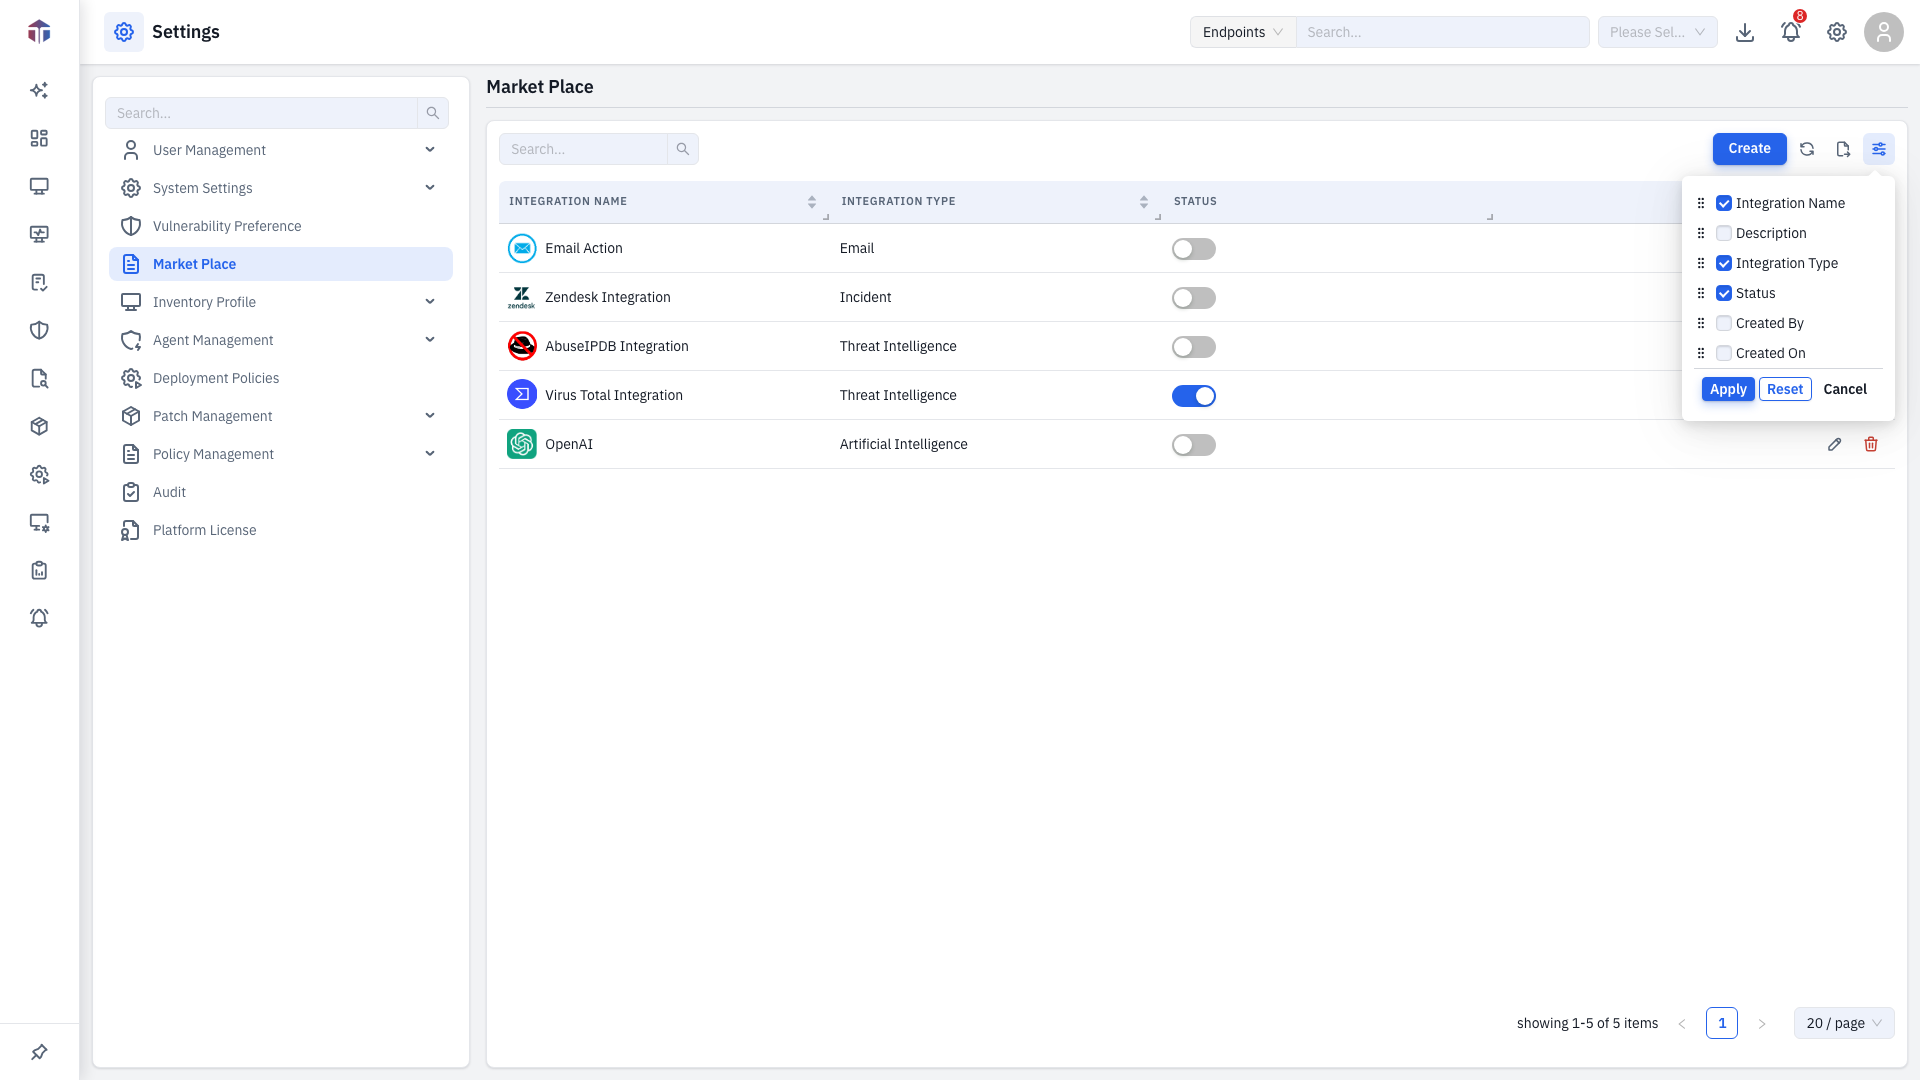
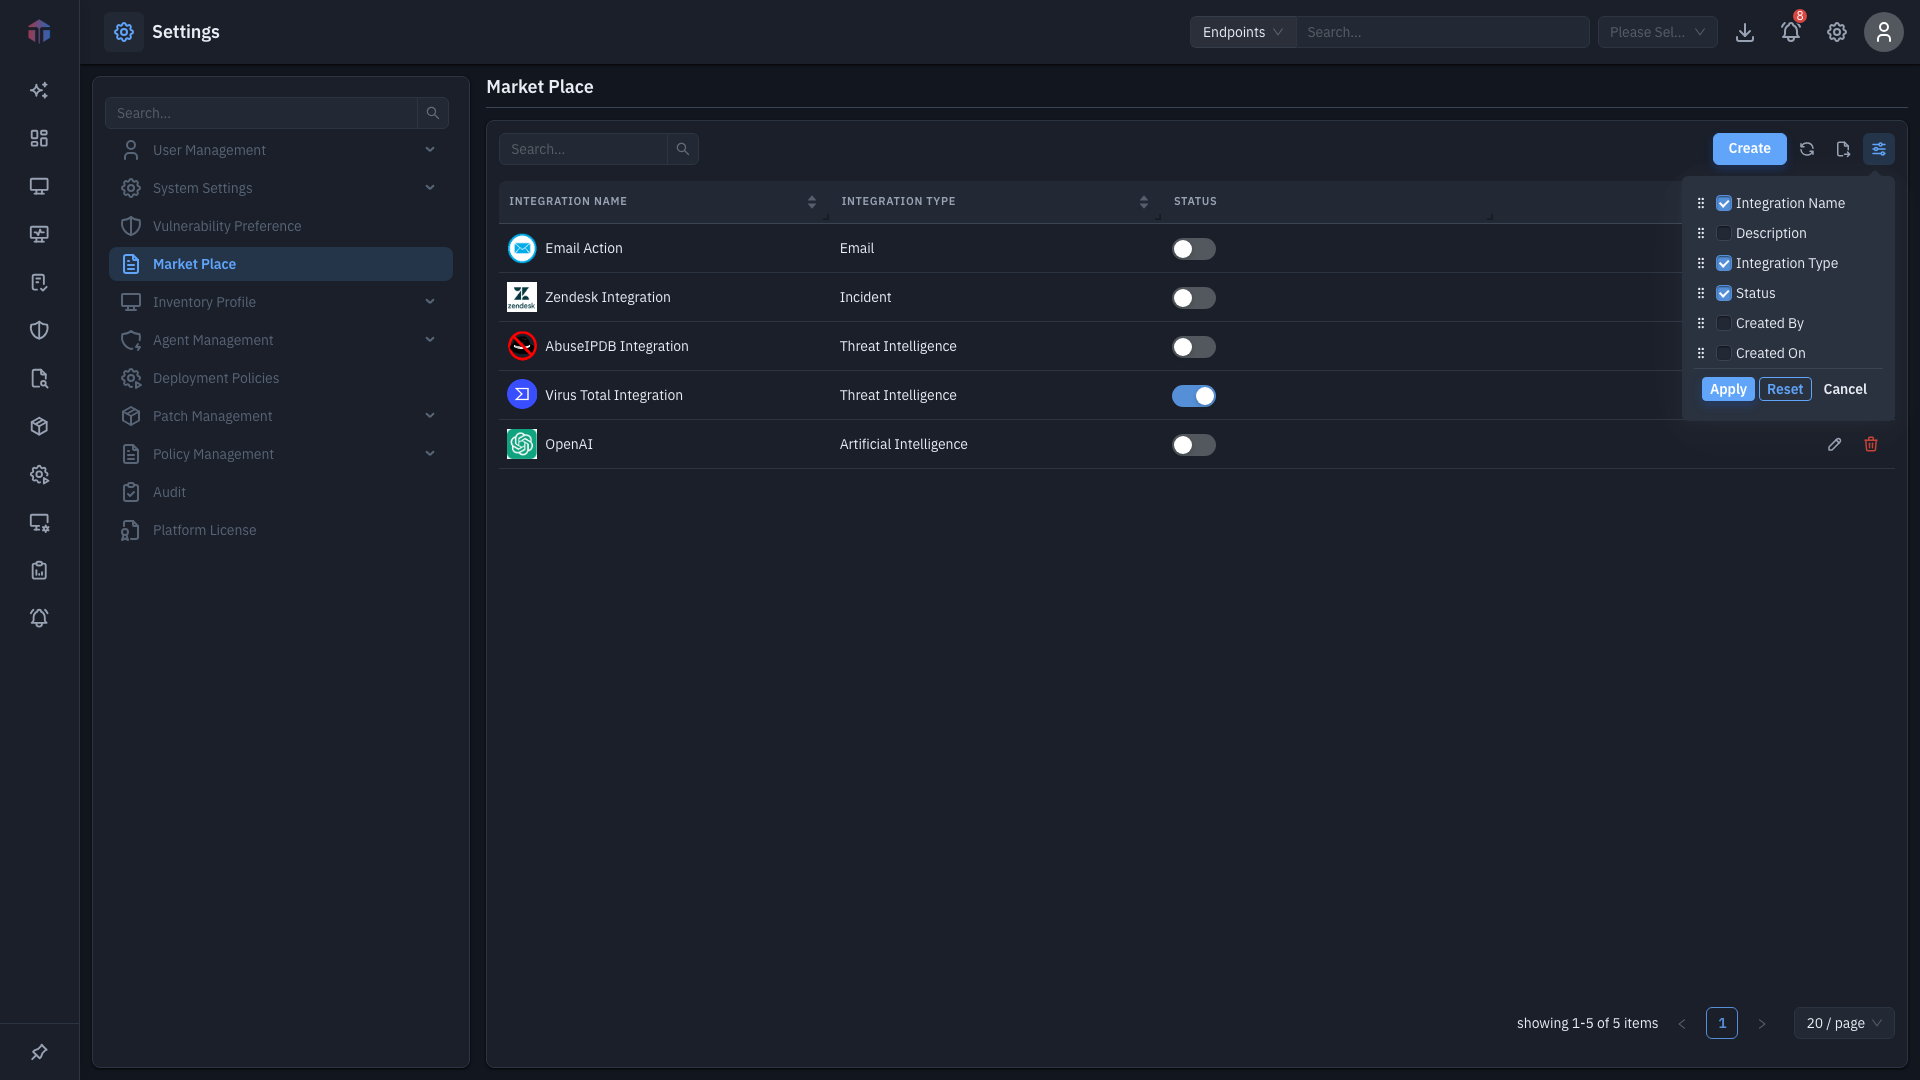
Tick the columns to show, untick to hide, drag to reorder, then click Apply.
Related
- System Settings → Threat Database- your own threat indicators.
- Policy Management → Alert Configurations- where integrations are used as alert actions. (coming)