Branding
Branding lets you replace the default EndpointOps logos with your own, so the console and exported reports carry your brand.
How to get here
You reach this page through Settings, so you need administrator (settings) permission. If you don't see the Settings icon, ask your administrator for access.
- Sign in to EndpointOps.
- In the top-right of any screen, click the Settings (gear ⚙️) icon.
- In the Settings menu on the left, open System Settings and click Branding.
Navigate to: Settings → System Settings → Branding
URL path: /settings/system-settings/branding
The Branding screen
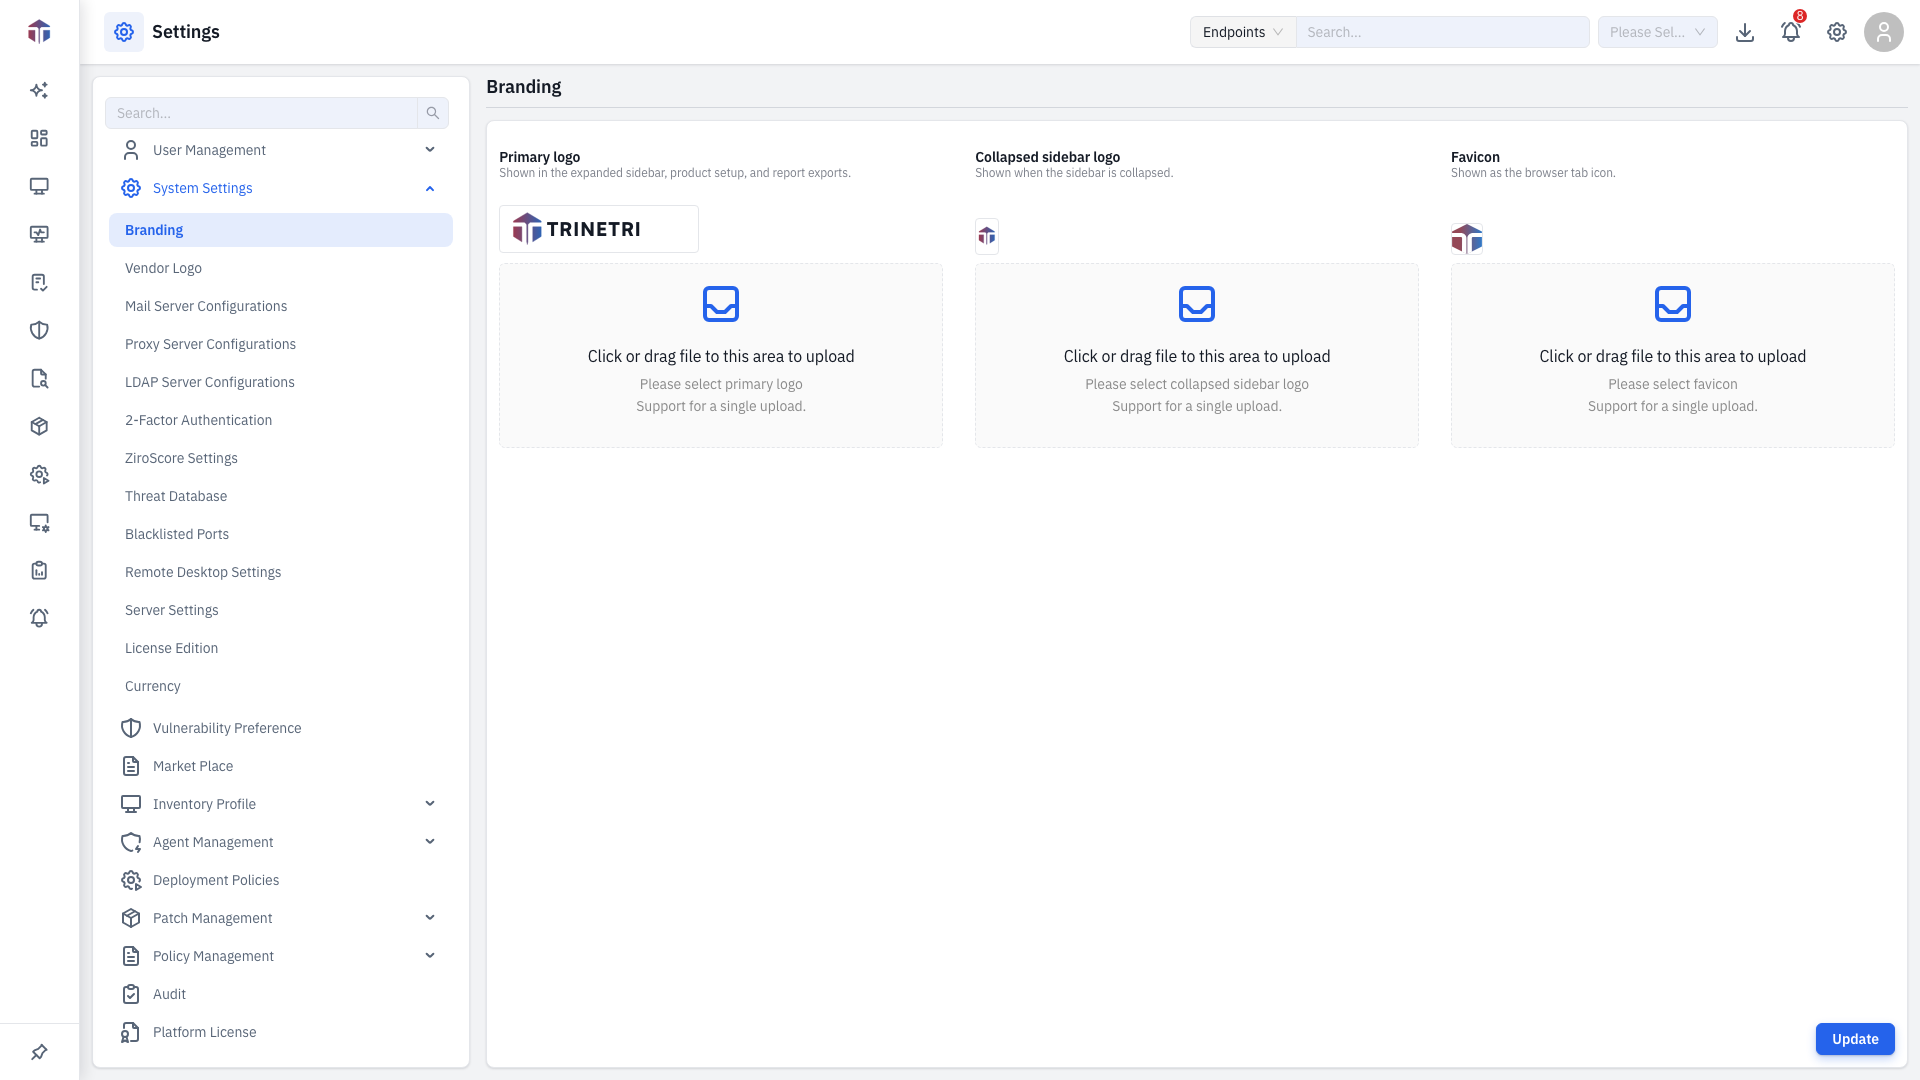
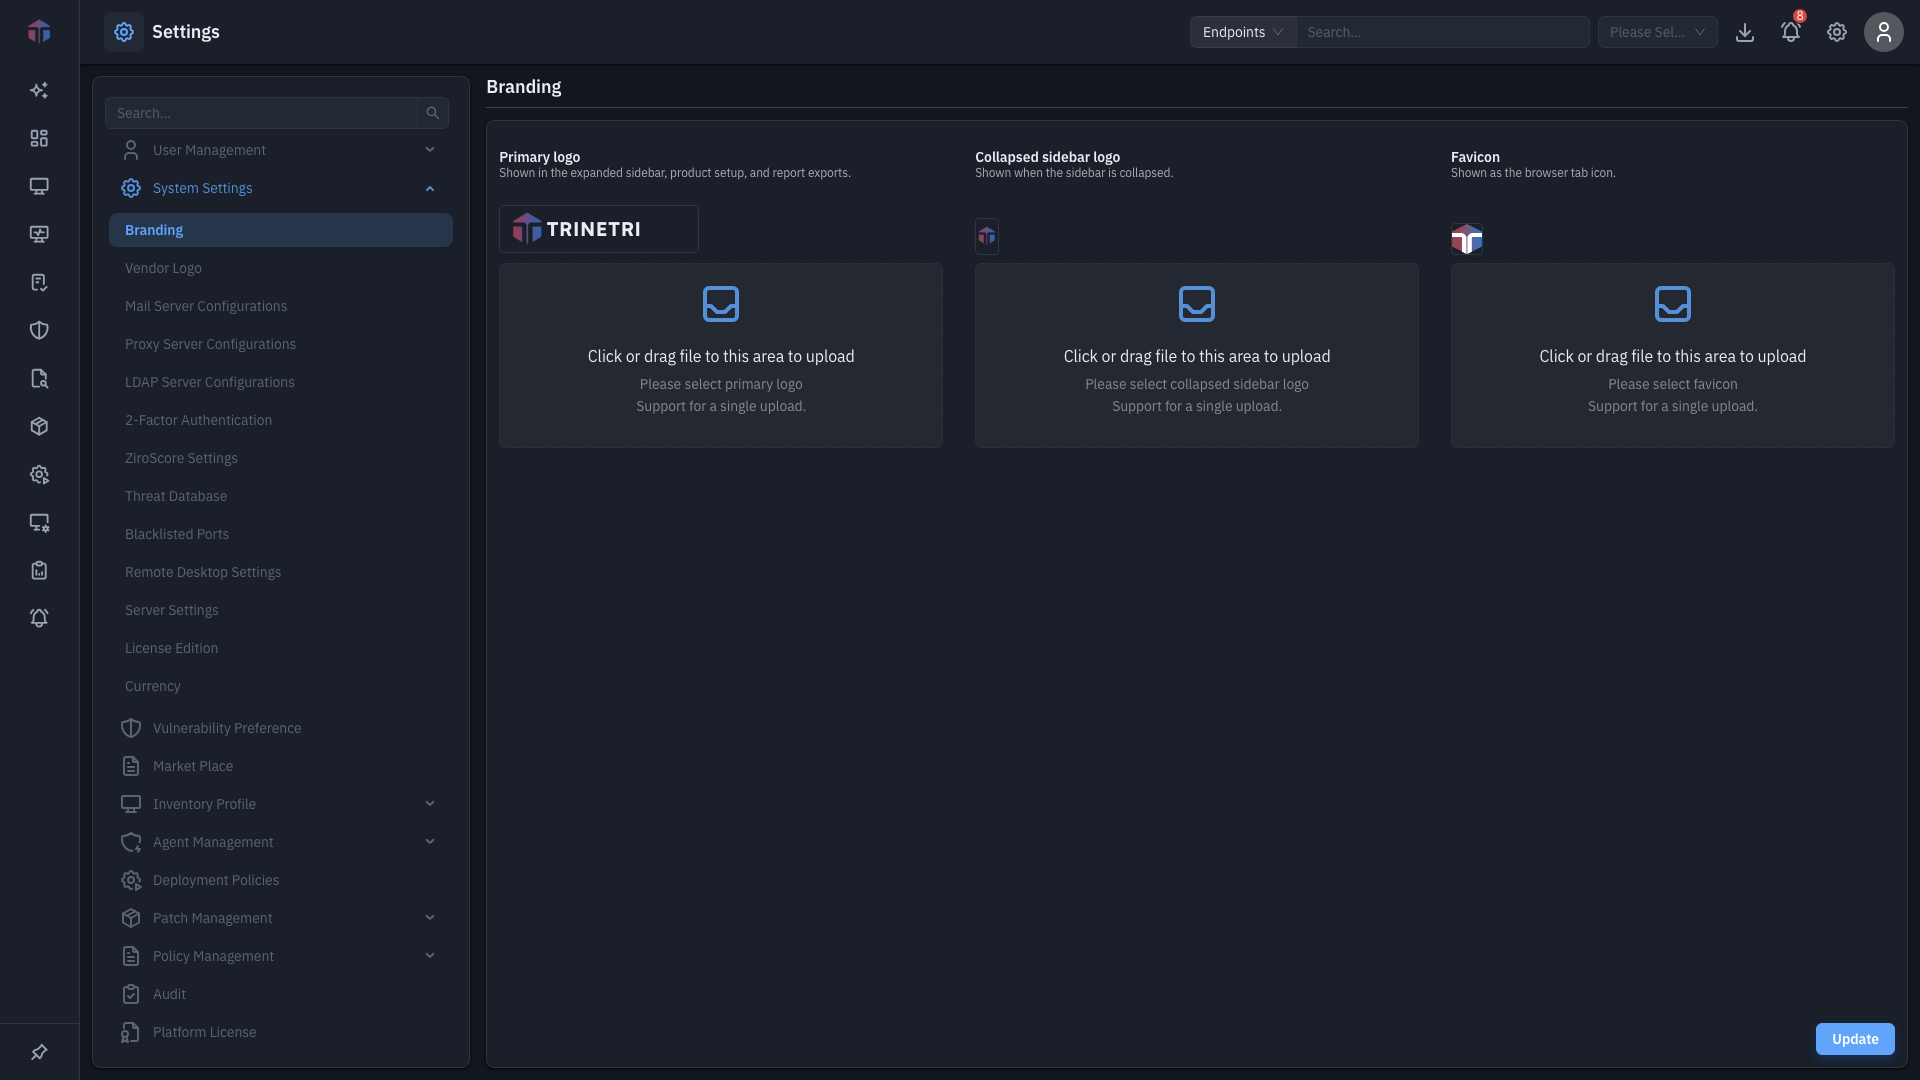
You can set three images. Each shows a preview of the current image and a drag-and-drop upload area:
| Logo | Where it appears |
|---|---|
| Primary logo | The expanded sidebar, product setup, and report exports. |
| Collapsed sidebar logo | Shown when the sidebar is collapsed to icons. |
| Favicon | The browser tab icon. |
How do I change a logo?
- In the logo's upload area, click or drag a file to upload your image. A single image file is supported per logo.
- Repeat for any other logos you want to change.
- Click Update to save.
To revert a logo to the EndpointOps default, use its Set to default option.
Use the right shape
The primary logo is wide, the collapsed-sidebar logo is a small square, and the favicon is a tiny (about 32×32) icon. Upload images sized for each slot so they stay crisp.
Related
- Vendor Logo- manage logos used elsewhere in the product.