Proxy Server Configurations
If your network sends outbound traffic through a proxy, configure it here so EndpointOps can reach the internet (for example to download patches and threat data).
How to get here
You reach this page through Settings, so you need administrator (settings) permission. If you don't see the Settings icon, ask your administrator for access.
- Sign in to EndpointOps.
- In the top-right of any screen, click the Settings (gear ⚙️) icon.
- In the Settings menu on the left, open System Settings and click Proxy Server Configurations.
Navigate to: Settings → System Settings → Proxy Server Configurations
URL path: /settings/system-settings/proxy-server-config
The Proxy Server screen
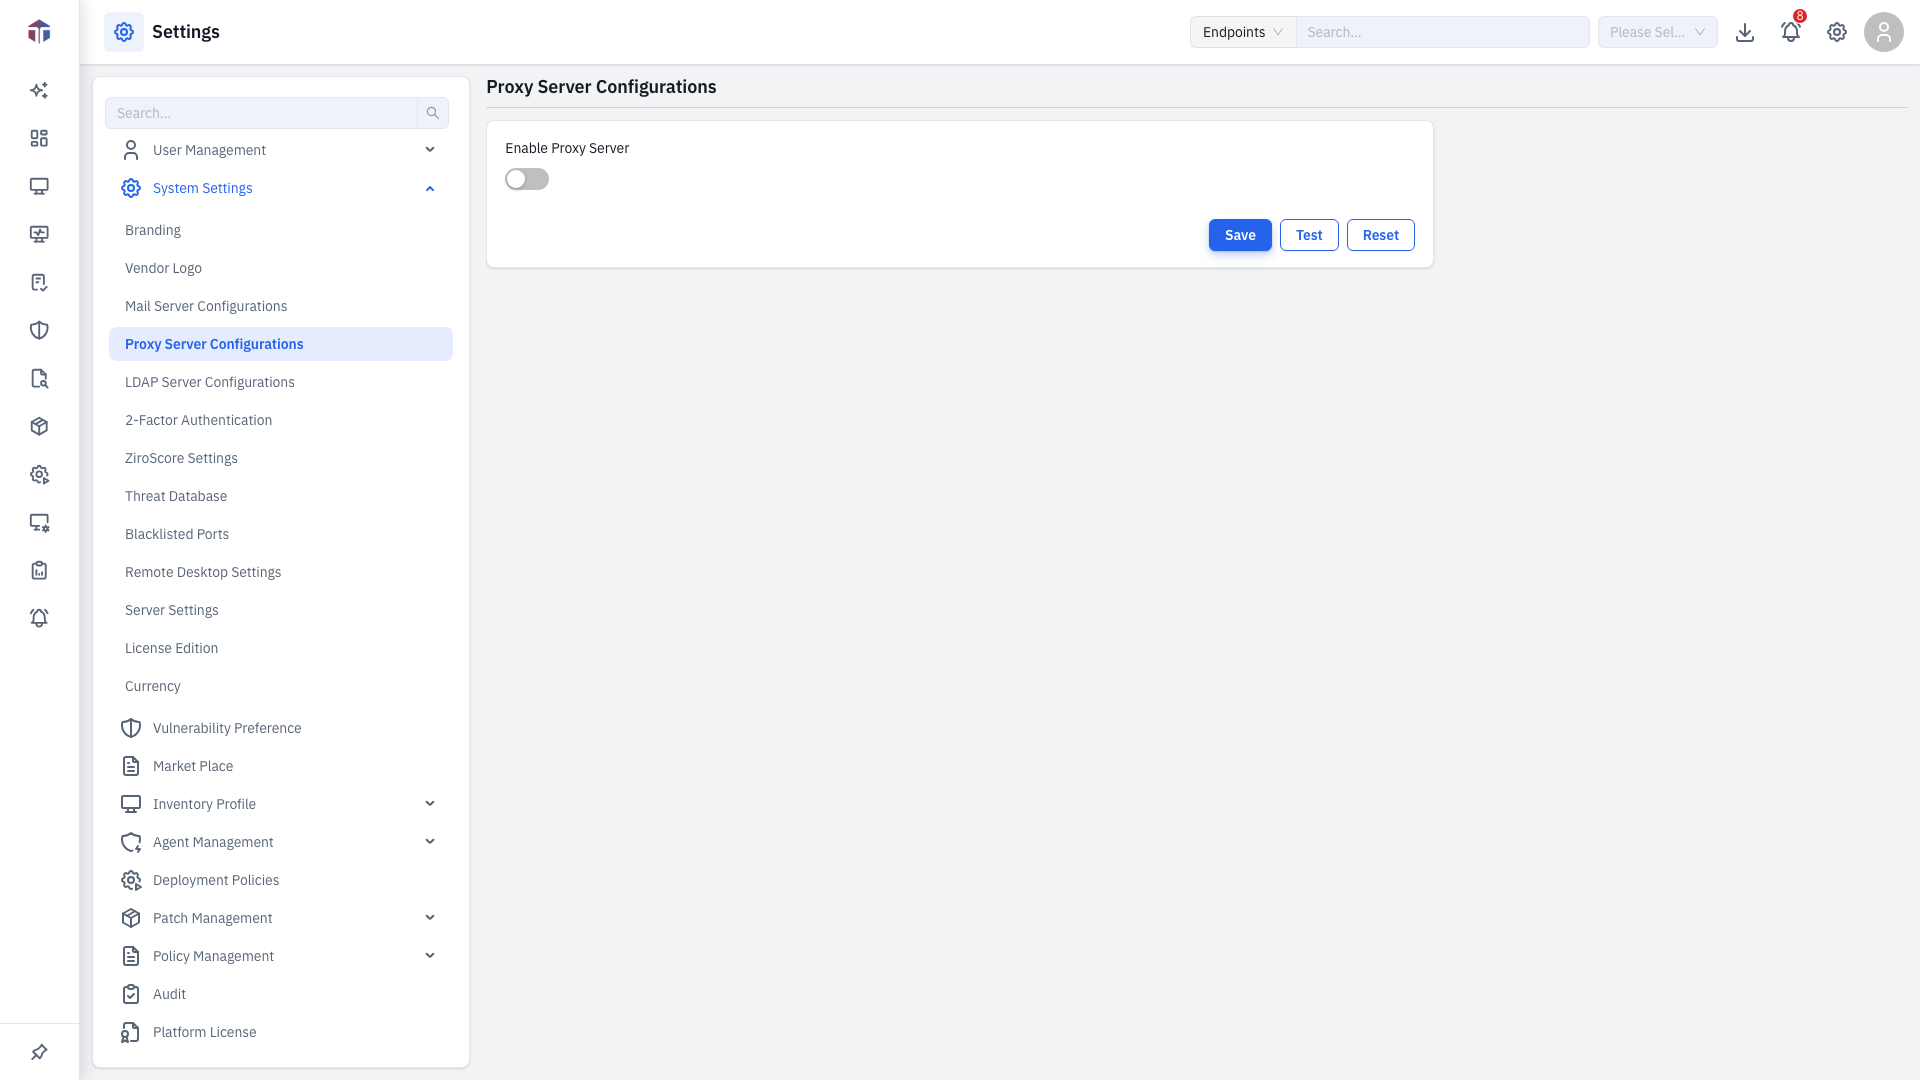
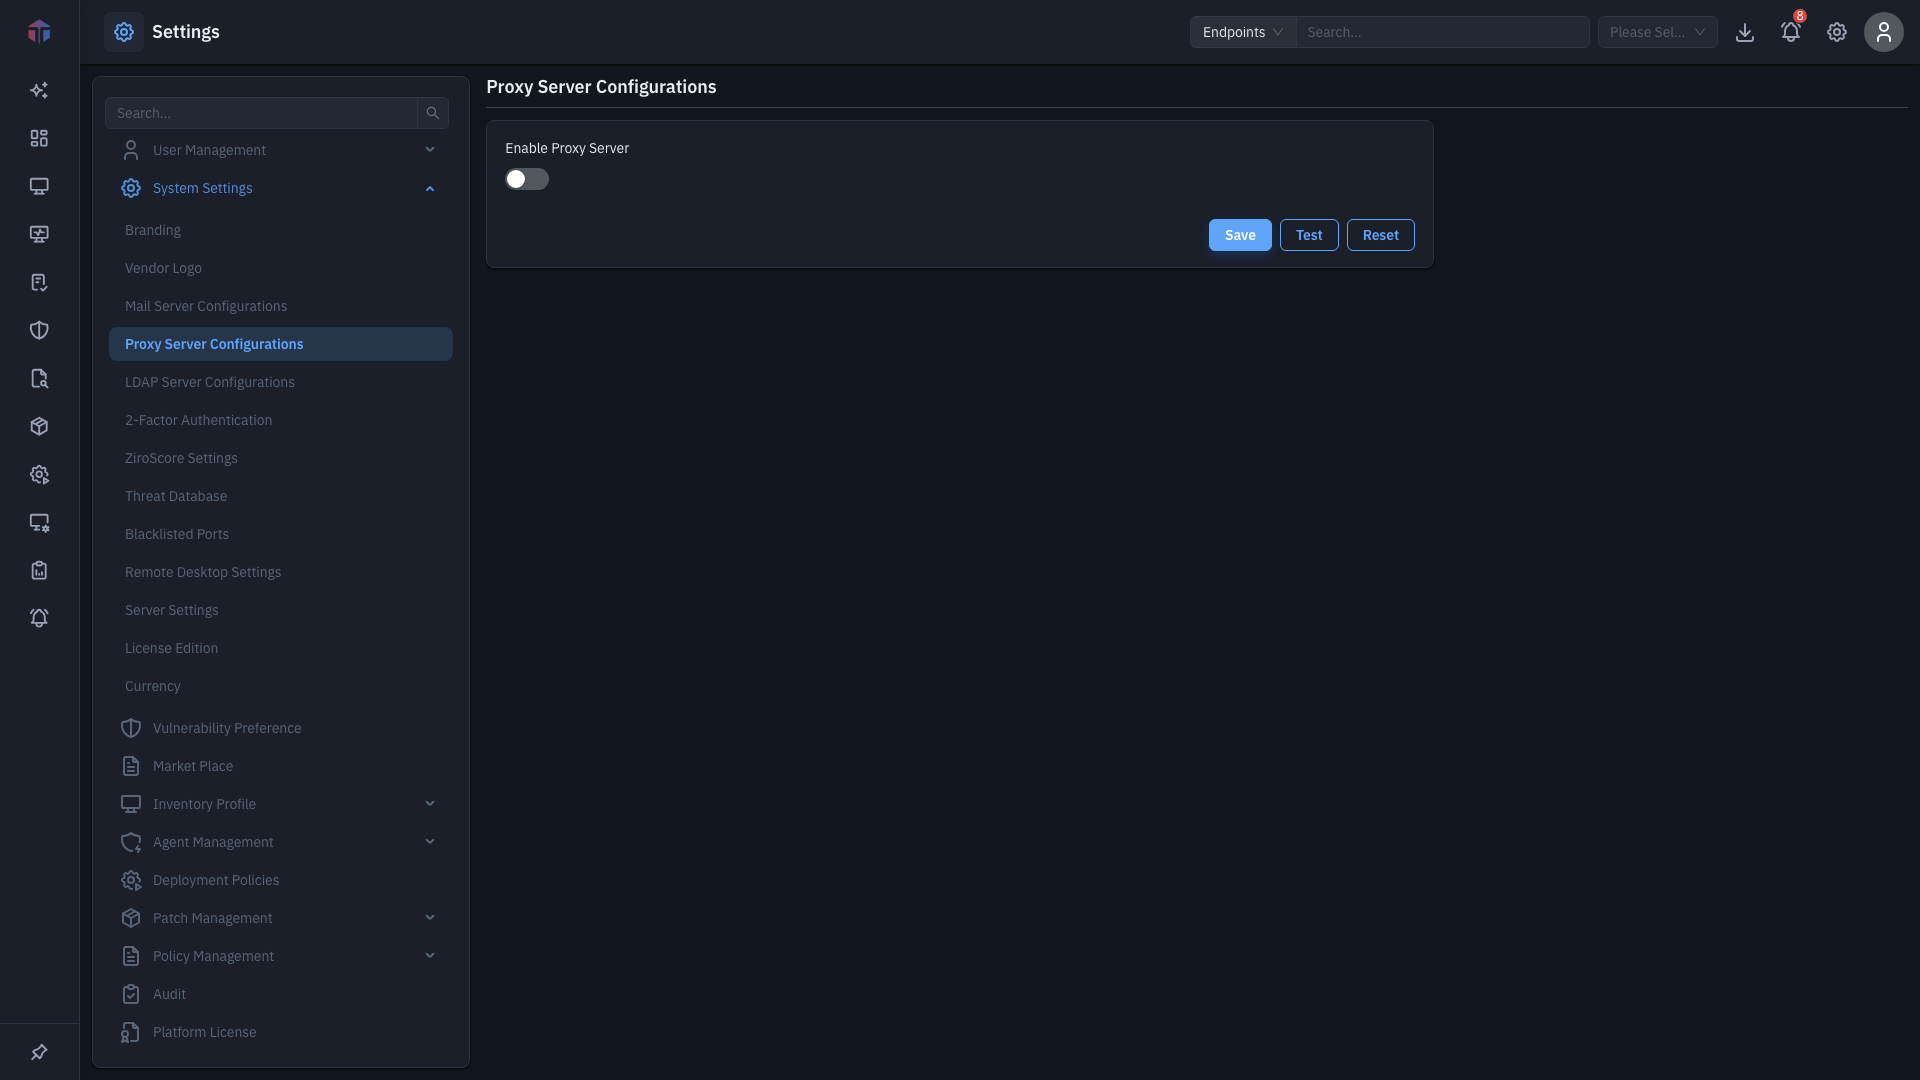
| Field | Required | Notes |
|---|---|---|
| Enable Proxy Server | - | Turn on to use a proxy. The rest of the fields appear only when this is on. |
| Proxy Host | Yes | The proxy server's hostname or IP. |
| Proxy Port | Yes | The proxy port (1–65535). |
| Proxy Type | Yes | HTTP, SOCKS4, or SOCKS5. |
| Timeout | Yes | Connection timeout, in seconds. |
| Enable Authentication | - | Turn on if the proxy needs a login. |
| Username | Yes (if auth on) | Proxy username. |
| Password | Yes (if auth on) | Proxy password. |
How do I set it up?
- Turn on Enable Proxy Server.
- Enter Proxy Host, Proxy Port, Proxy Type, and Timeout.
- If the proxy requires a login, turn on Enable Authentication and enter the Username and Password.
- Click Test to verify the connection, then Save. Use Reset to undo.
Two levels of toggle
Nothing else shows until Enable Proxy Server is on. The Username and Password fields appear only after you also turn on Enable Authentication.
Related
- Mail Server Configurations- outbound email settings.
- Server Settings- other system-wide server options.