SSO Configuration
SSO Configuration connects EndpointOps to your identity provider (IdP) using SAML 2.0, so users sign in with single sign-on instead of a separate password.
How to get here
You reach this page through Settings, so you need administrator (settings) permission. If you don't see the Settings icon, ask your administrator for access.
- Sign in to EndpointOps.
- In the top-right of any screen, click the Settings (gear ⚙️) icon.
- The Settings screen opens with its own menu down the left side. Click User Management (the first group) to expand it.
- Click SSO Configuration.
Navigate to: Settings → User Management → SSO Configuration
URL path: /settings/user-management/sso-login (for example,
https://your-endpointops-site/settings/user-management/sso-login). Note the URL
ends in sso-login even though the menu item reads SSO Configuration.
The SSO Configuration screen
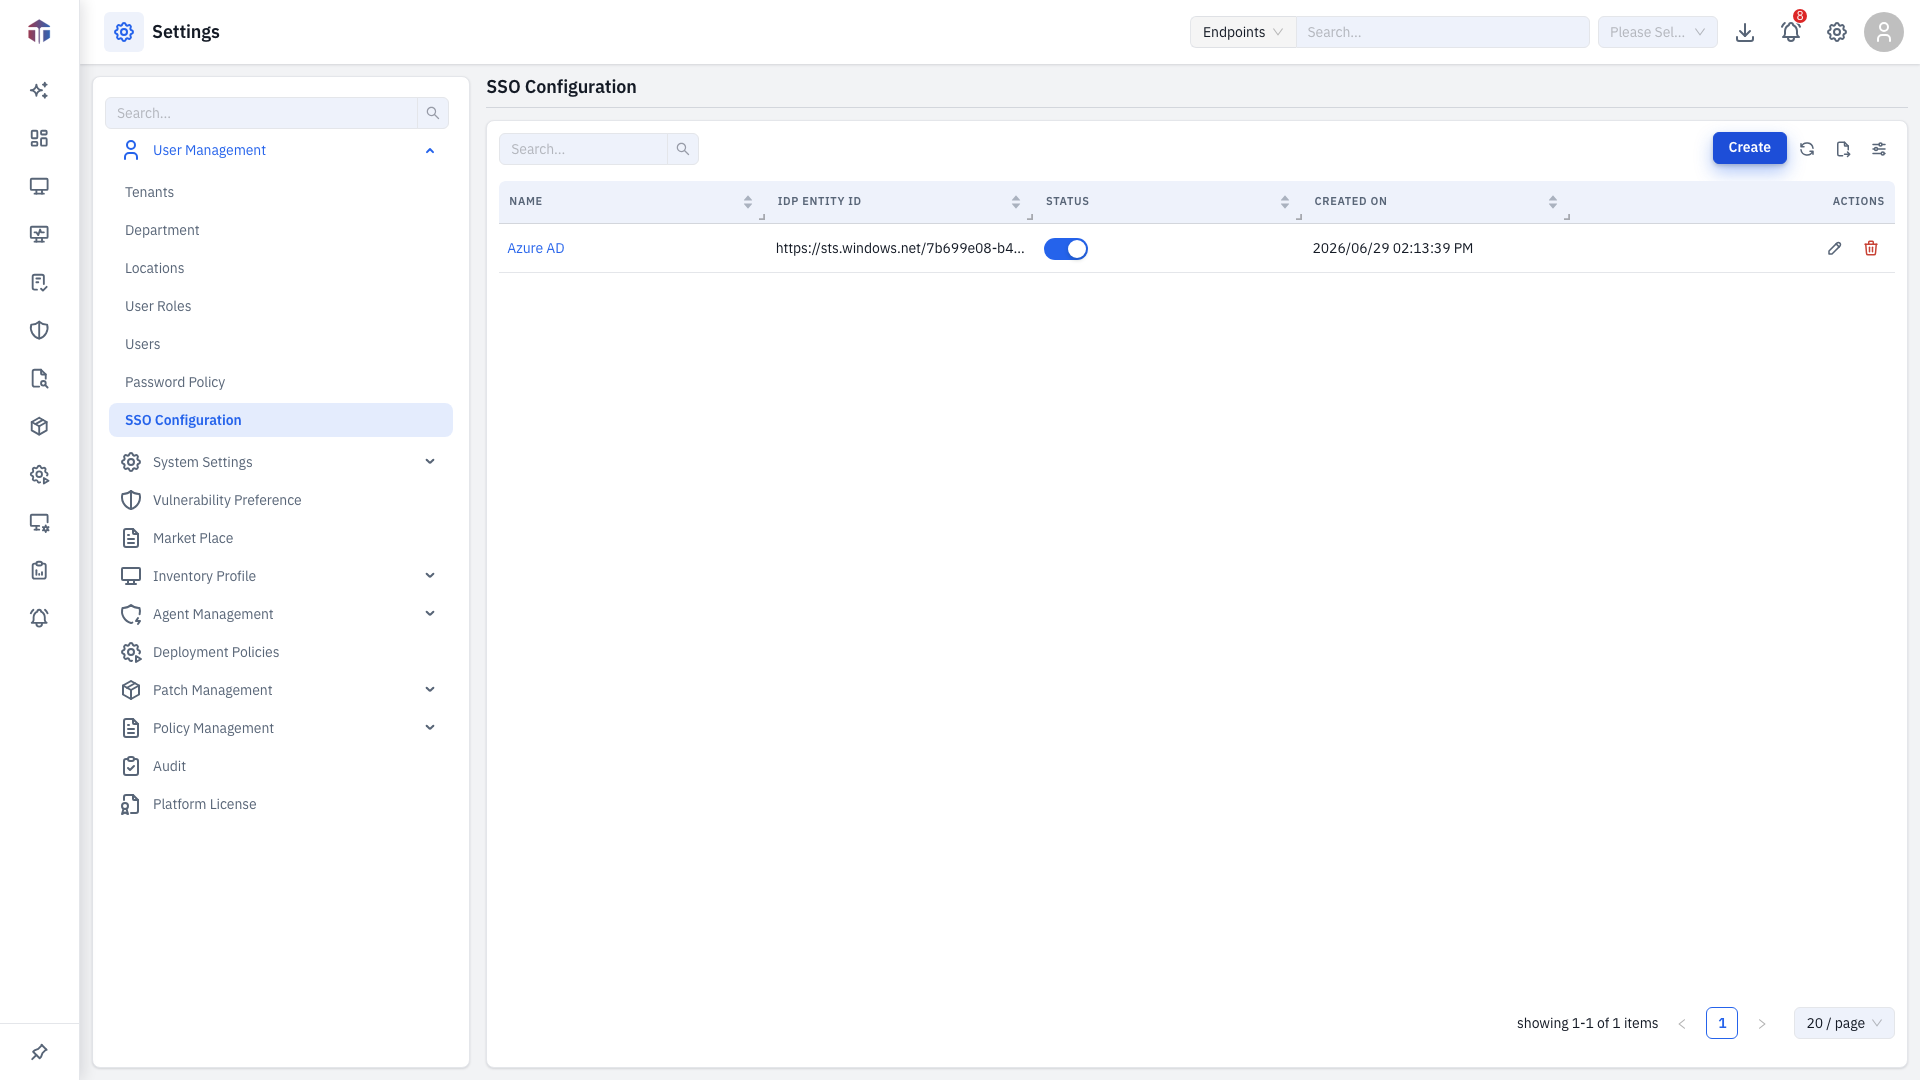
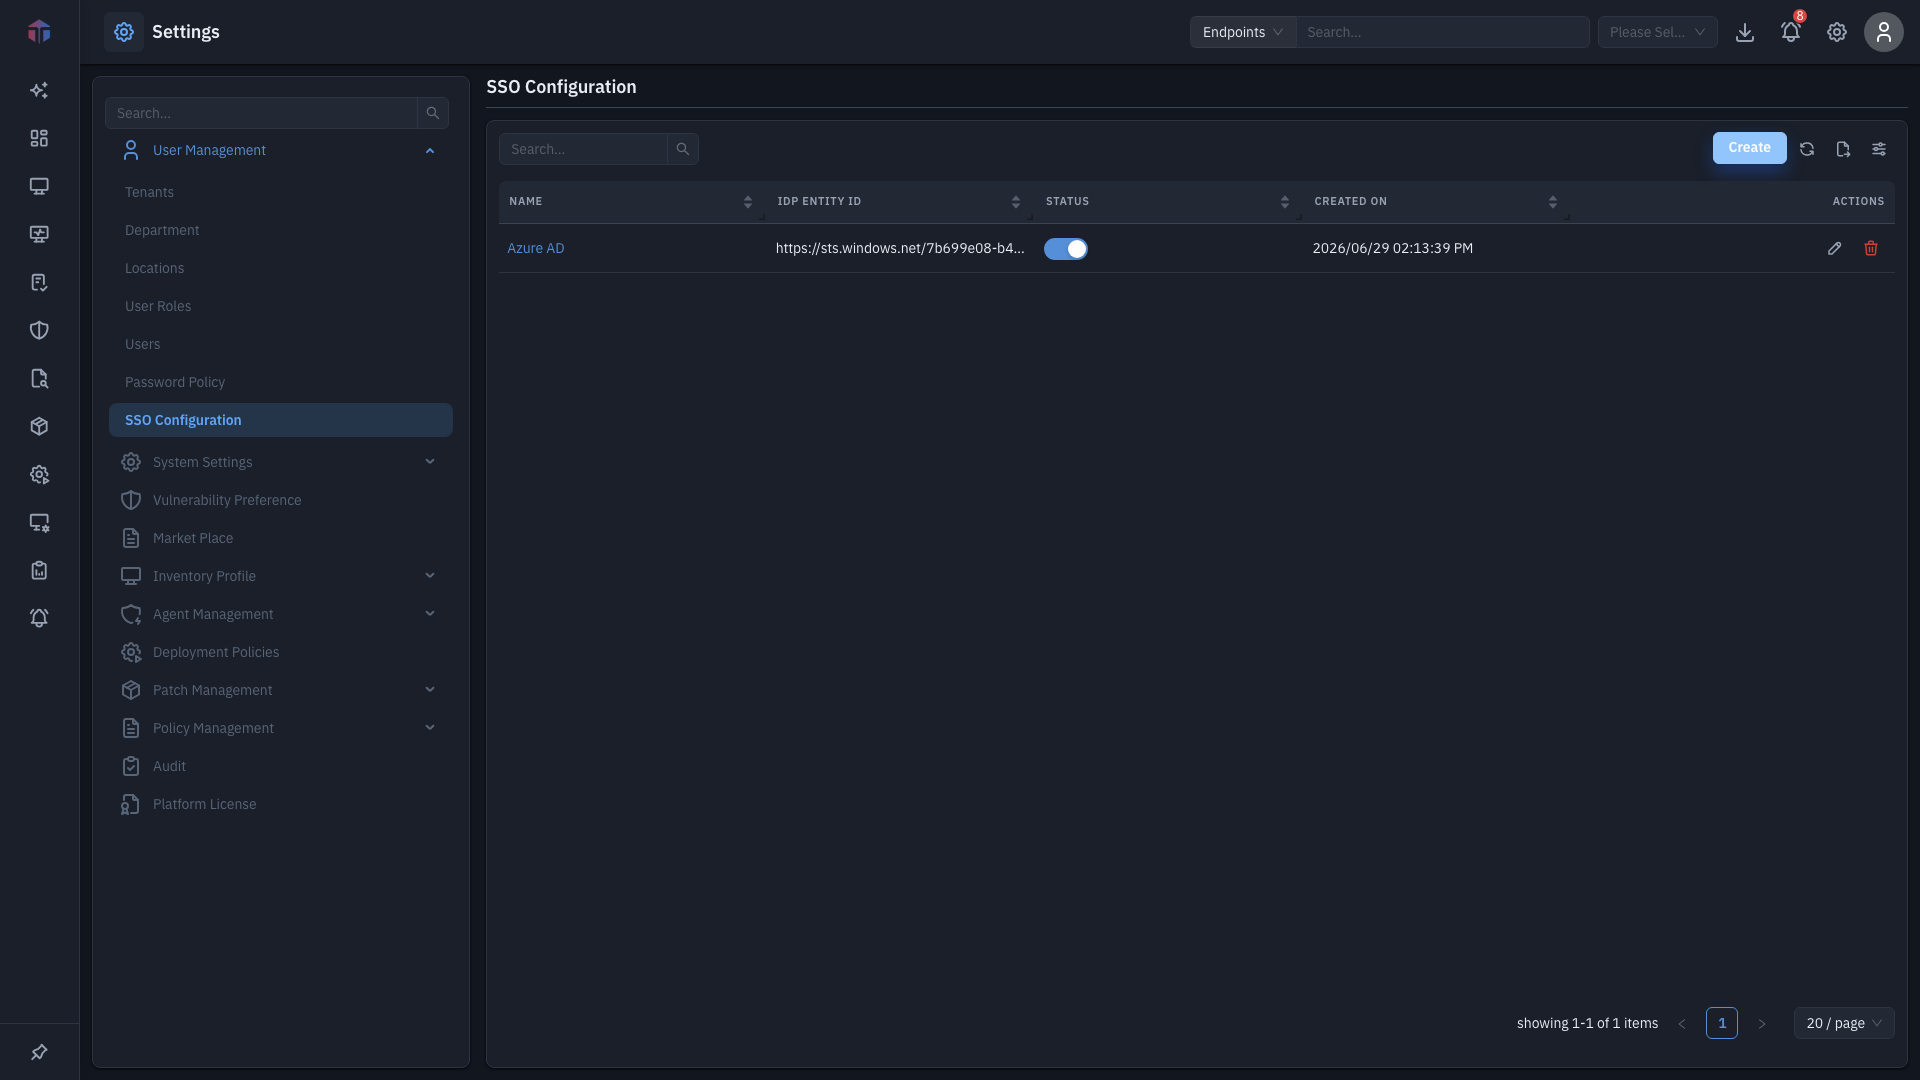
Columns: Name, IDP Entity ID, Status, Created On, Actions.
The Status column is a switch you can flip directly in the list to enable or disable a configuration without opening it.
When no configuration exists, the list shows No data. Use Create to add one.
The toolbar
Above every list sits the same toolbar:
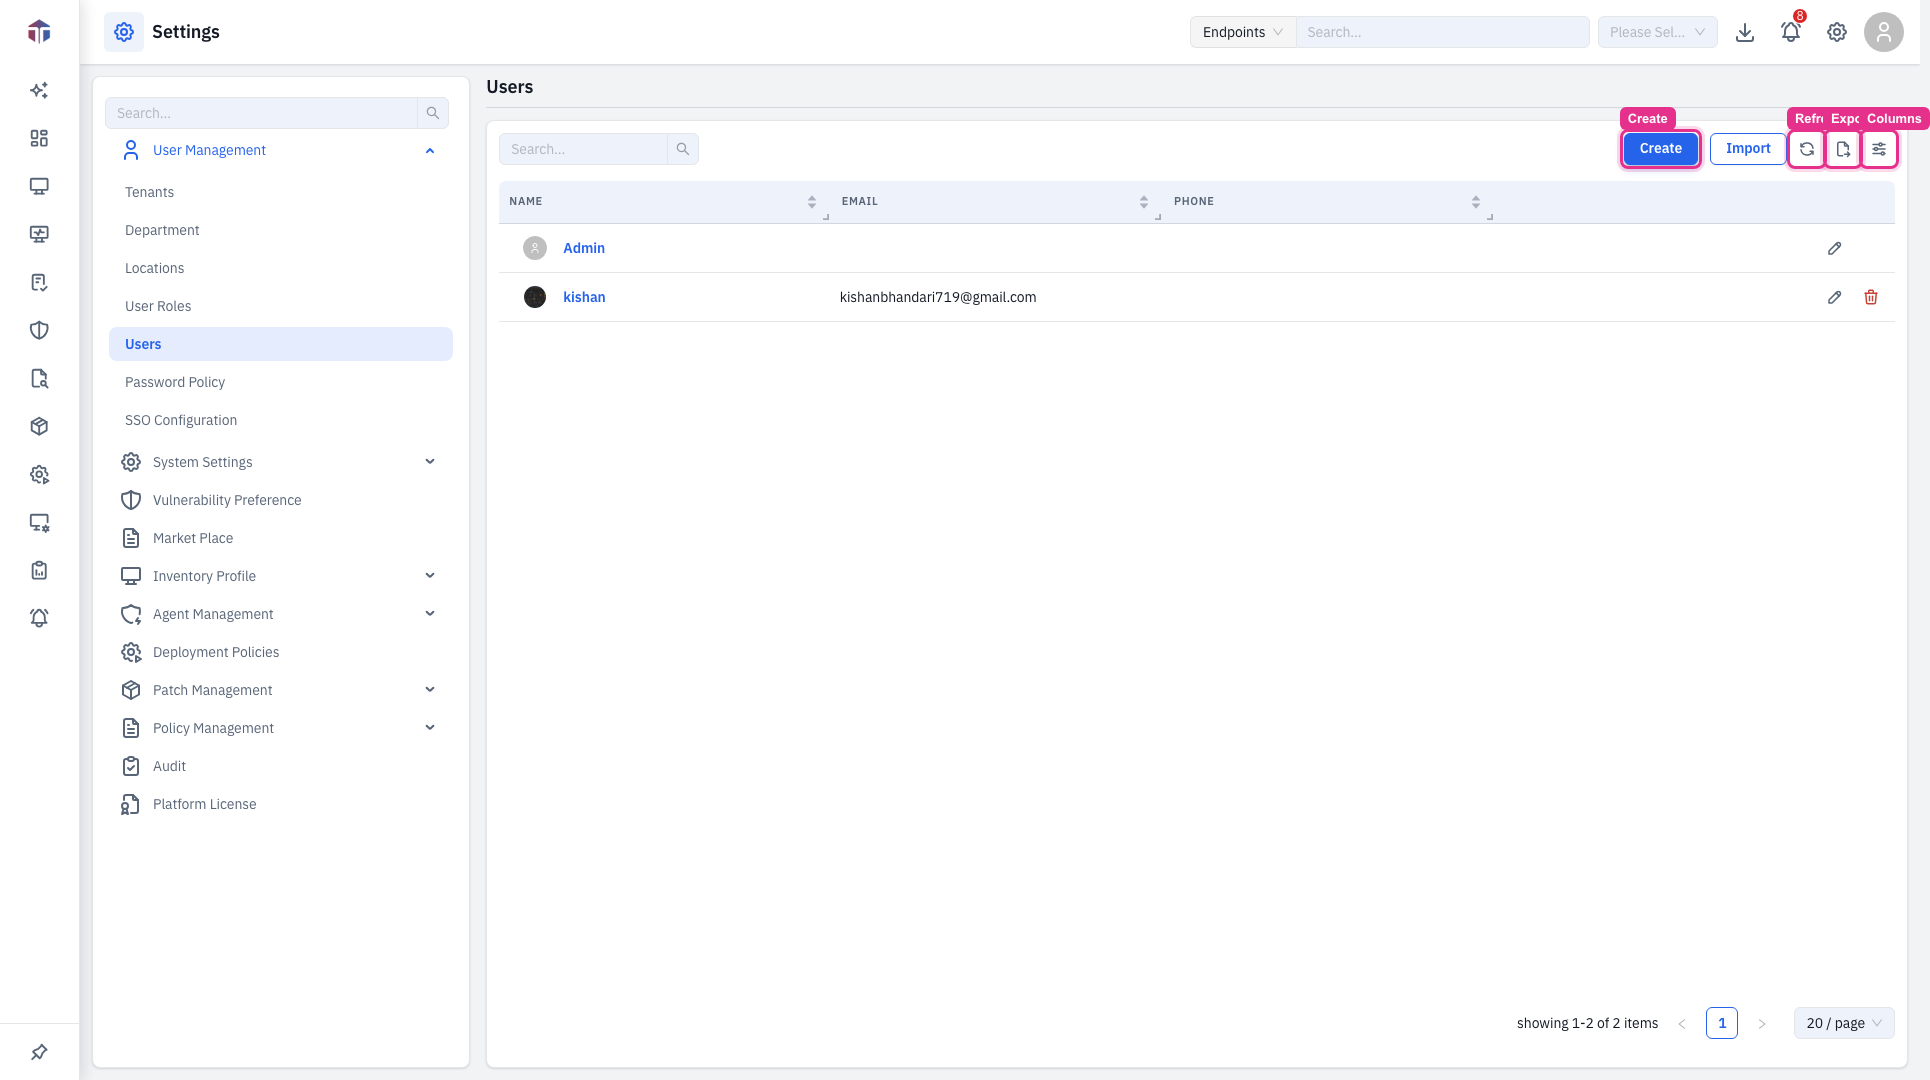
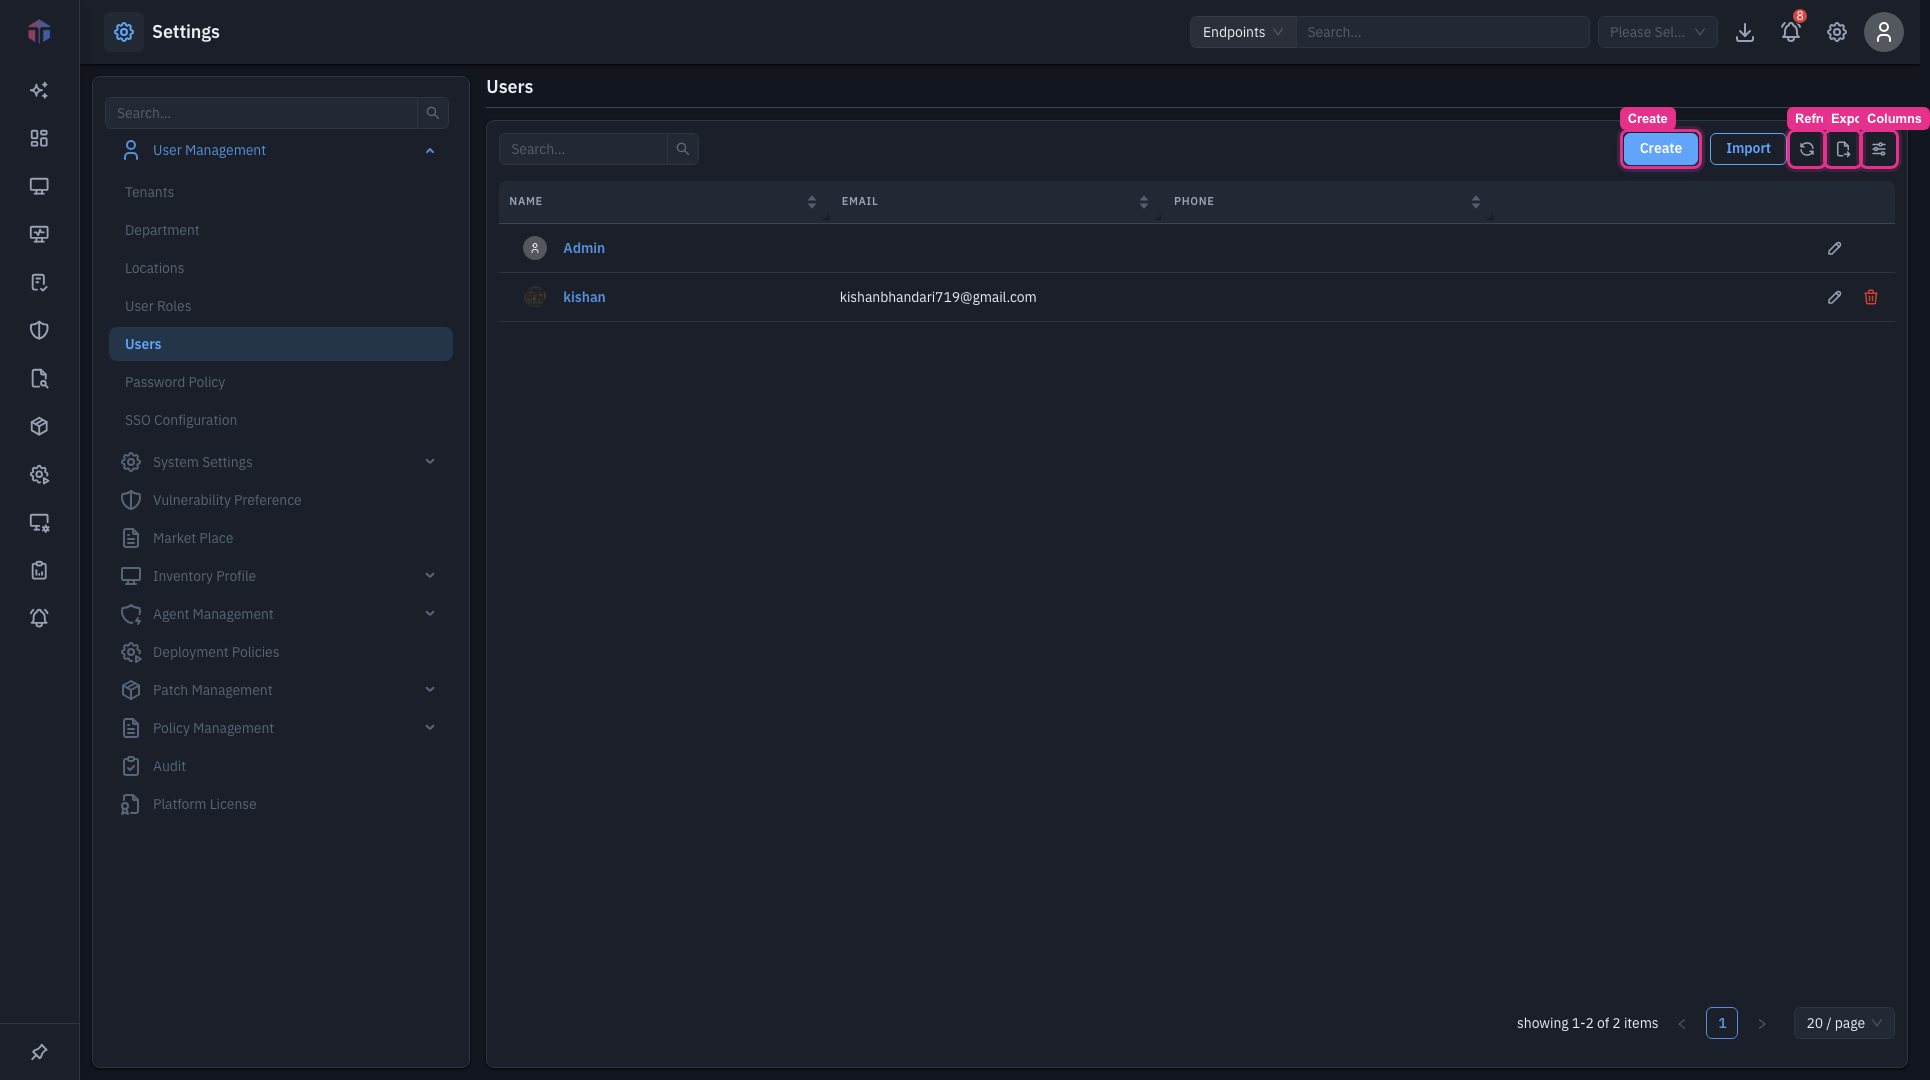
- Create- add a new item.
- Import- bulk-import items from a file (only on screens that support it, such as Users).
- Refresh- reload the latest data.
- Export- download the current list.
- Columns- choose which columns to show (covered under "Choosing which columns to show" lower on this page).
Working with the list
Every list in EndpointOps behaves the same way, so these controls work here too:
- Search- type in the Search… box above the table to filter the rows as you type.
- Sort- click the arrows in a column header to sort by that column, ascending or descending.
- View details- click a row's link in the first column (its name or ID) to open a read-only view of that record.
- Edit / delete- use the edit (✏️) and delete (🗑️) icons at the end of a row. Built-in/default records show no delete icon.
- Pagination- when a list runs to more than one page, use the page controls at the bottom-right, and the / page selector to change how many rows show at once.
- Permissions- you only see Create, edit, and delete if your role grants the matching permission. Without those permissions the screen is read-only.
When you save a new or edited record, a success message appears, the panel closes, and the list refreshes. Required fields are marked with a red asterisk; if you miss one, an inline error shows when you try to save.
How do I add an SSO configuration?
-
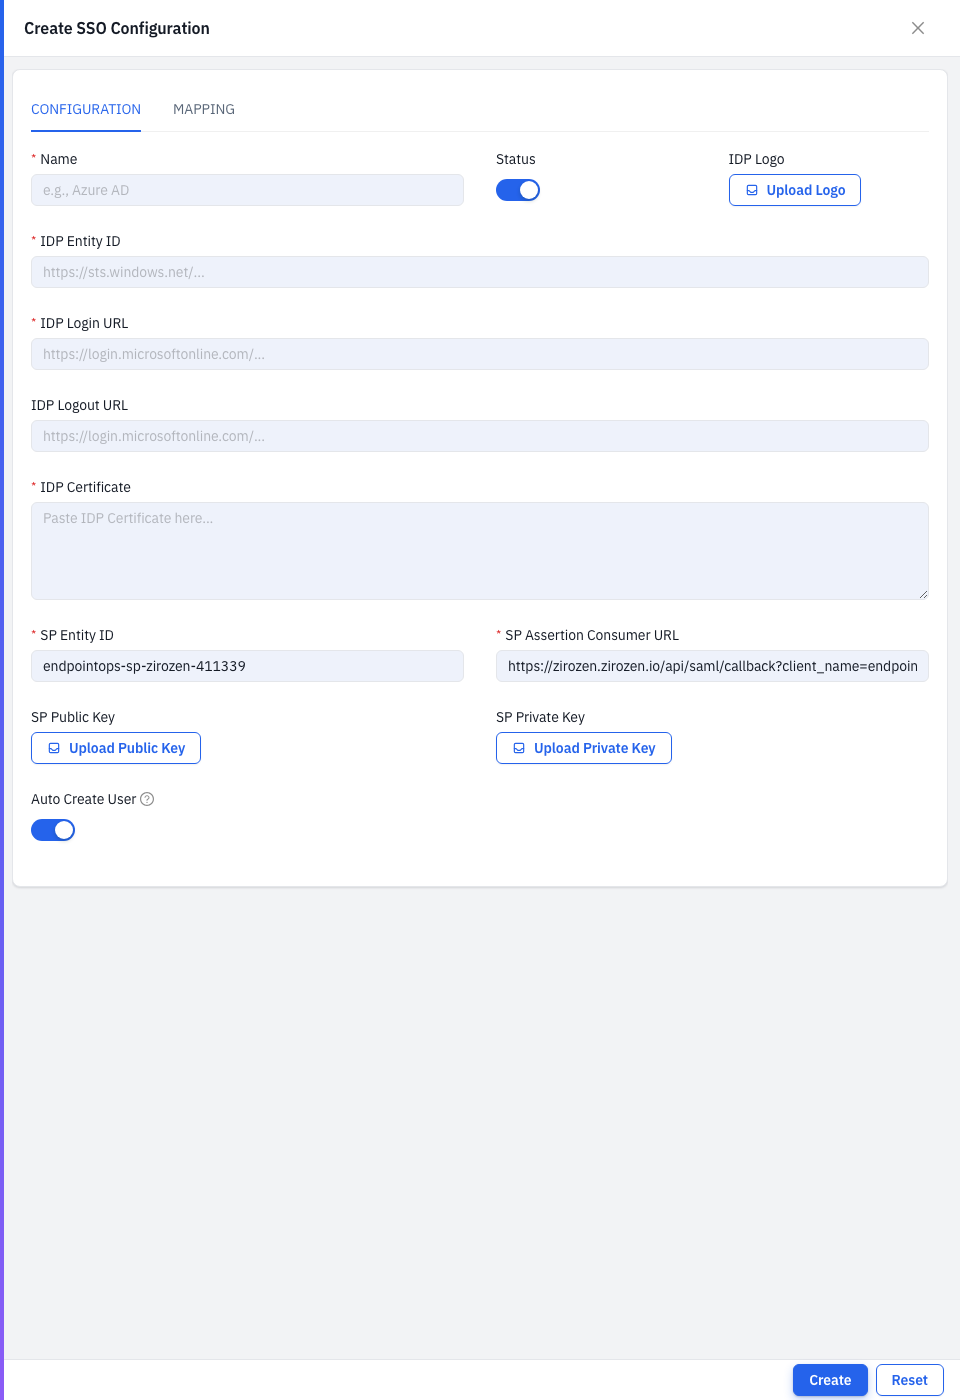
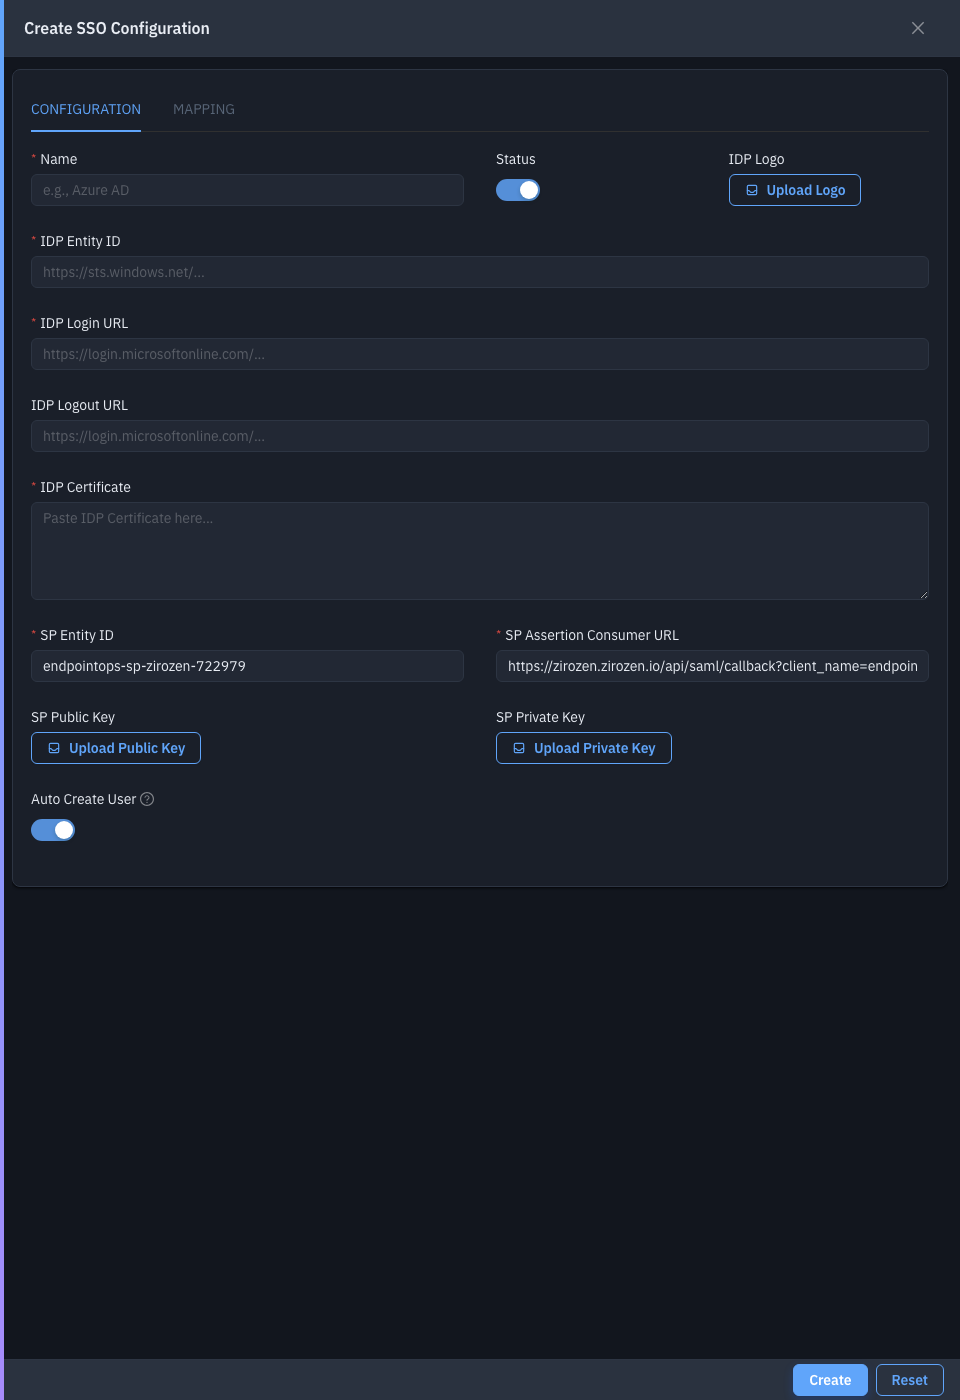
Click Create. The Create SSO Configuration panel opens with two tabs: Configuration and Mapping.
-
On the Configuration tab, fill in your identity-provider details (red asterisk = required):
Field Required Notes Name Yes A label for this configuration, e.g. Azure AD. Status - Toggle the configuration on or off (on by default). IDP Logo No Upload a logo to show on the sign-in button. IDP Entity ID Yes Your identity provider's entity ID / issuer. IDP Login URL Yes Where users are sent to sign in. IDP Logout URL No Where users are sent on sign-out. IDP Certificate Yes The IdP's signing certificate (paste it in). SP Entity ID Yes EndpointOps's service-provider ID (pre-filled). SP Assertion Consumer URL Yes EndpointOps's callback URL (pre-filled). SP Public Key / SP Private Key No Upload service-provider keys if your IdP requires signed requests. Auto Create User - When on (the default), users who sign in via SSO but don't yet exist are created automatically. -
Open the Mapping tab. Here you tell EndpointOps which SAML attribute from your IdP carries each user field. Enter the attribute name next to each field:
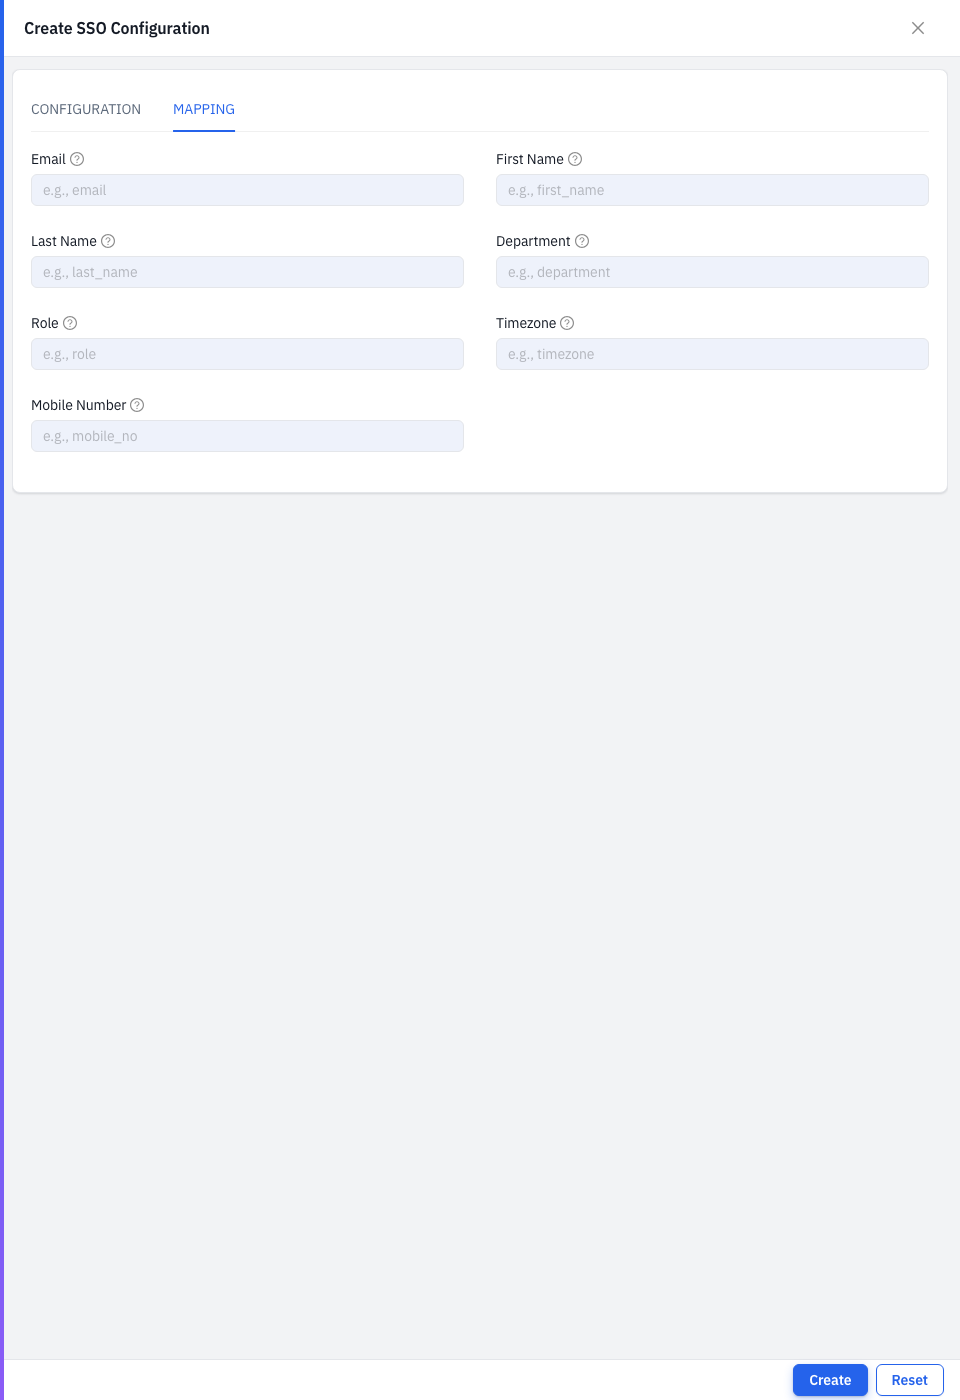
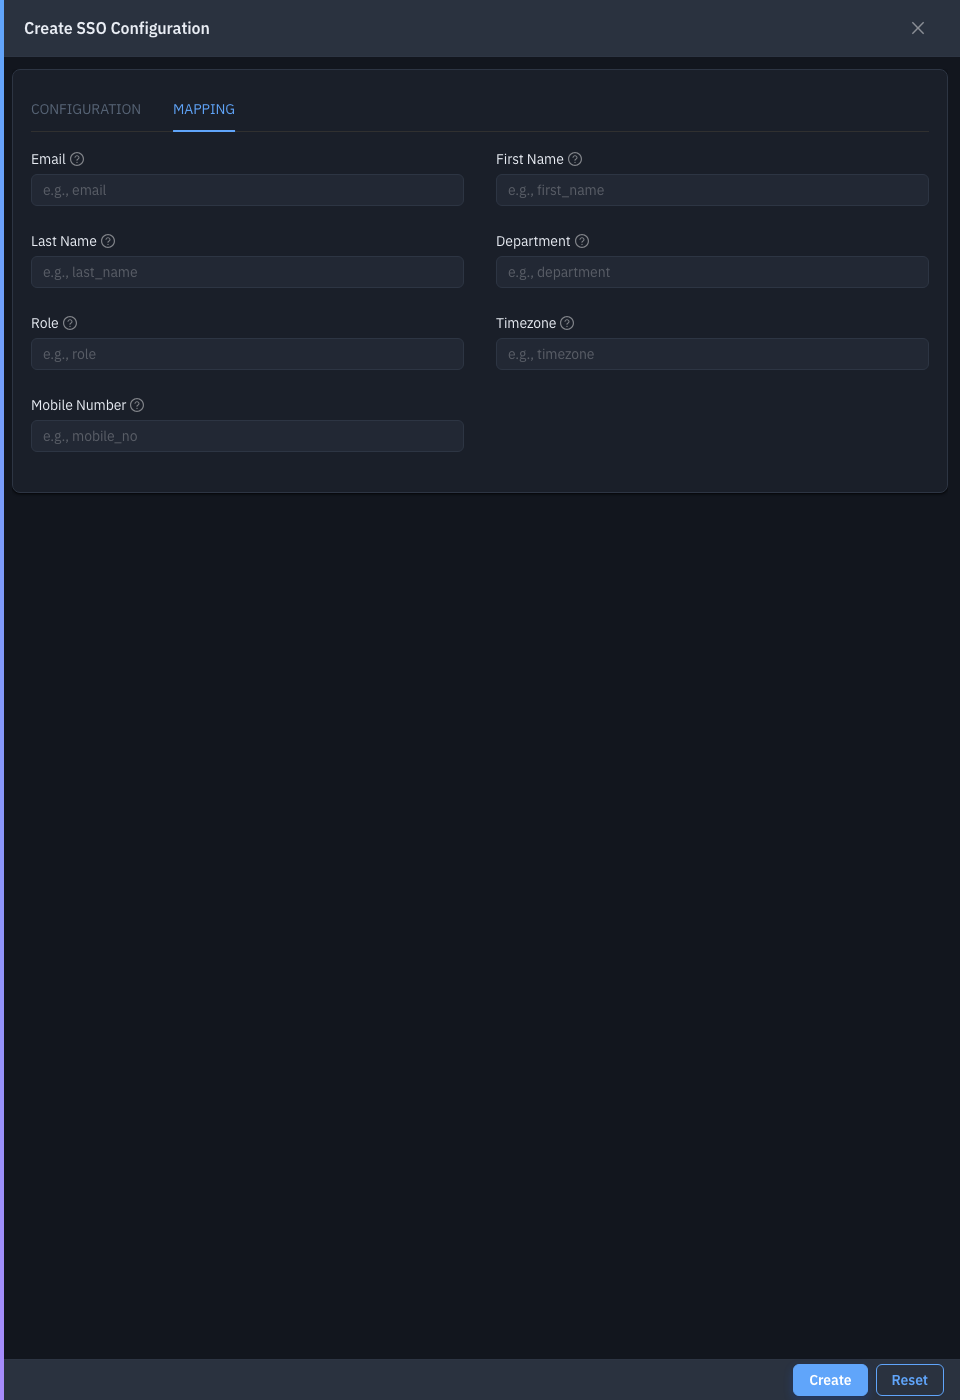
EndpointOps field Maps from (SAML attribute), e.g. Email emailFirst Name first_nameLast Name last_nameDepartment departmentRole roleTimezone timezoneMobile Number mobile_no -
Click Create.
The SP Entity ID and SP Assertion Consumer URL are generated by EndpointOps- copy them into your identity provider when you register EndpointOps as an application.
Choosing which columns to show
Click the Columns icon on the right of the toolbar to open the column picker, then tick/untick columns, drag to reorder, and click Apply.
Tips & troubleshooting
- Test before rolling out. Keep a local admin account so you can still sign in if the IdP connection has a problem.
- Users land on an error after the IdP. Re-check the IDP Certificate, the IDP Entity ID, and that the SP Assertion Consumer URL is registered exactly in your identity provider.
- New SSO users have no access. With Auto Create User on, set a sensible default role via the Mapping tab, or assign roles afterward on the Users page.
Related
- Users- accounts created or matched on SSO sign-in.
- User Roles- what SSO users can do.
- Password Policy- applies to local (non-SSO) passwords.